We have updated the new WordPress Manager to be more intuitive and user friendly for a better experience. To get started in using WordPress Manager, follow the steps below
If you have not yet sign in, Click Here to log into your account
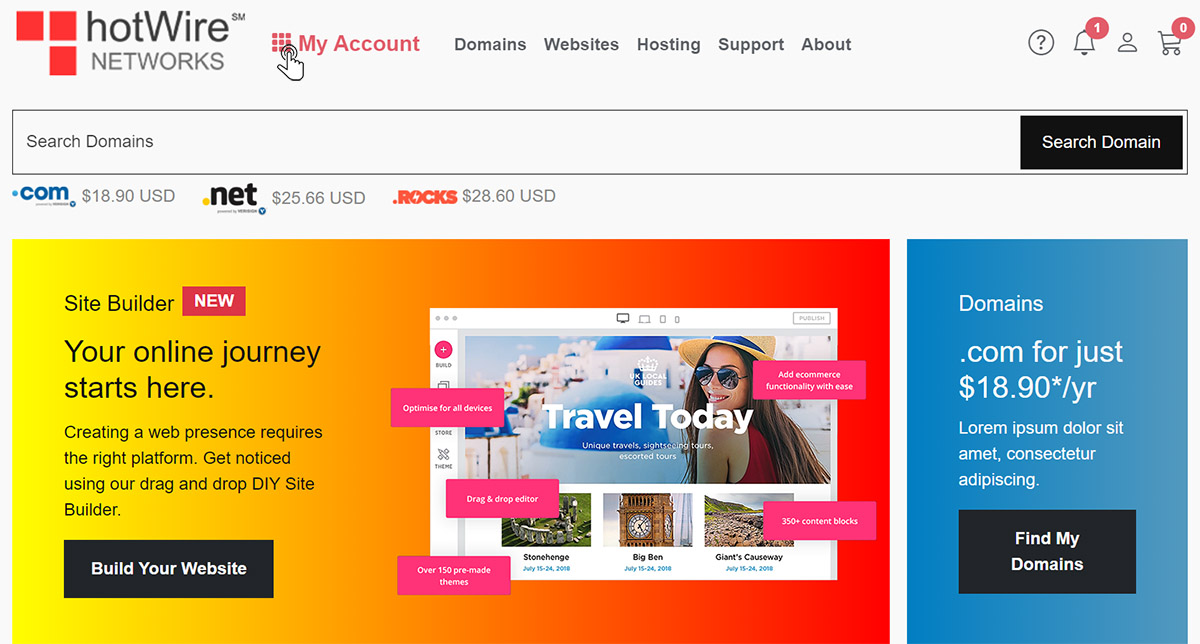
Step 1: Click 'My Account' to access the drop-down menu
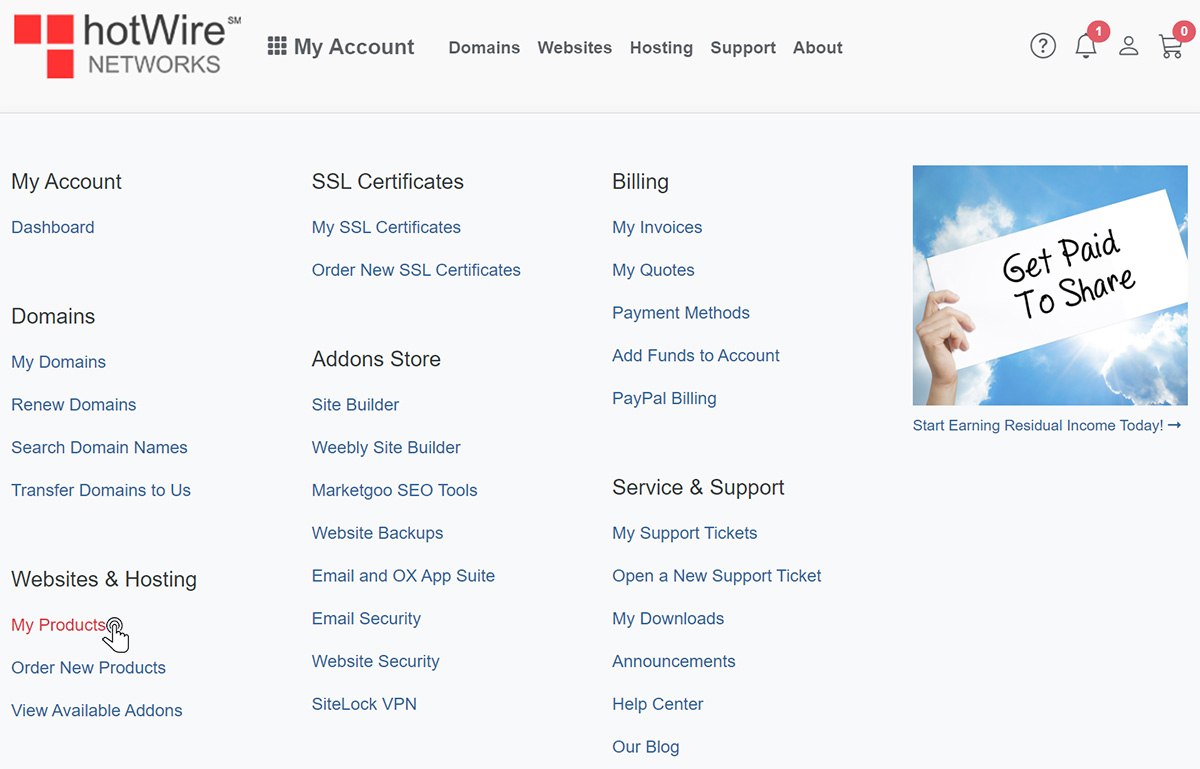
Step 2: Under Websites & Hosting click "My Products"
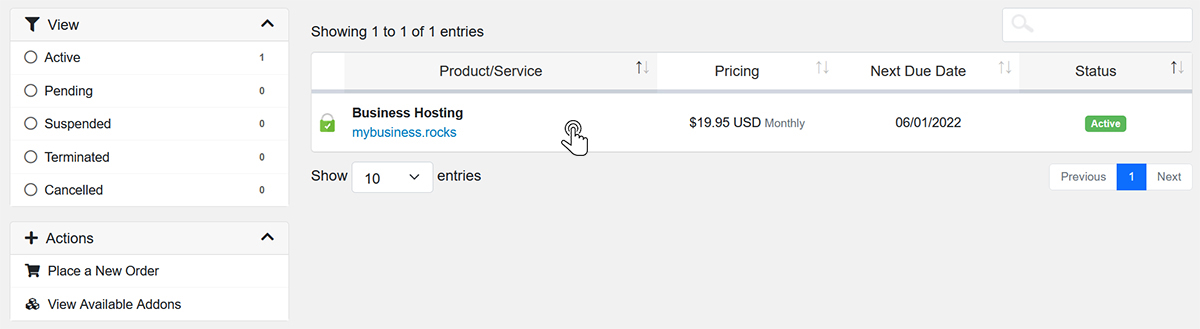
Step 3: Click within the "Business Hosting" area.
Step 4: On the left side of the product details window, click "WordPress Management" under Actions
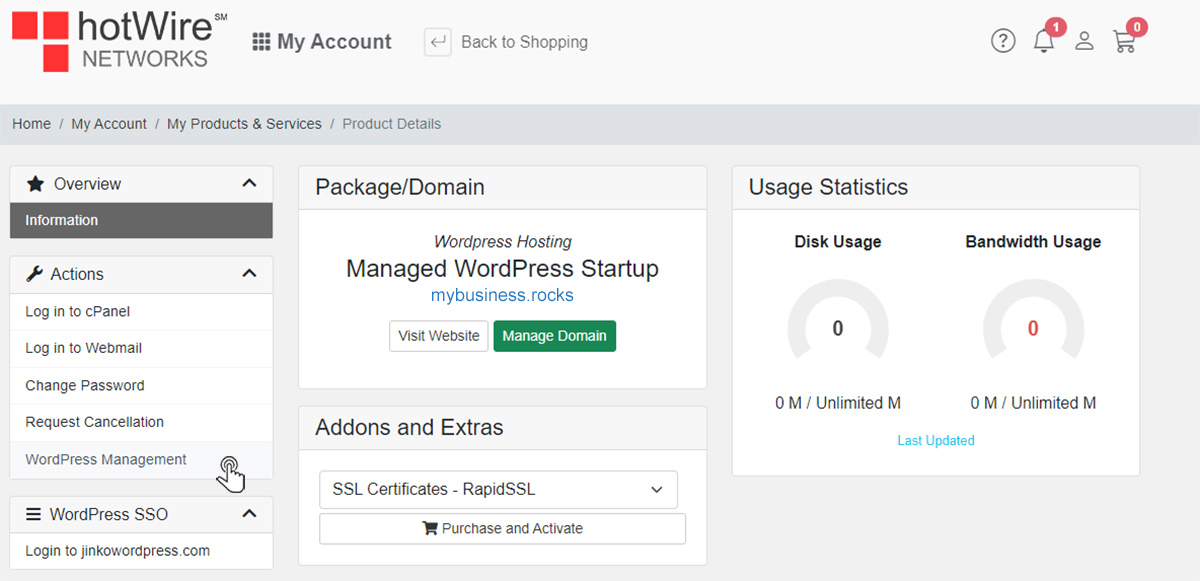
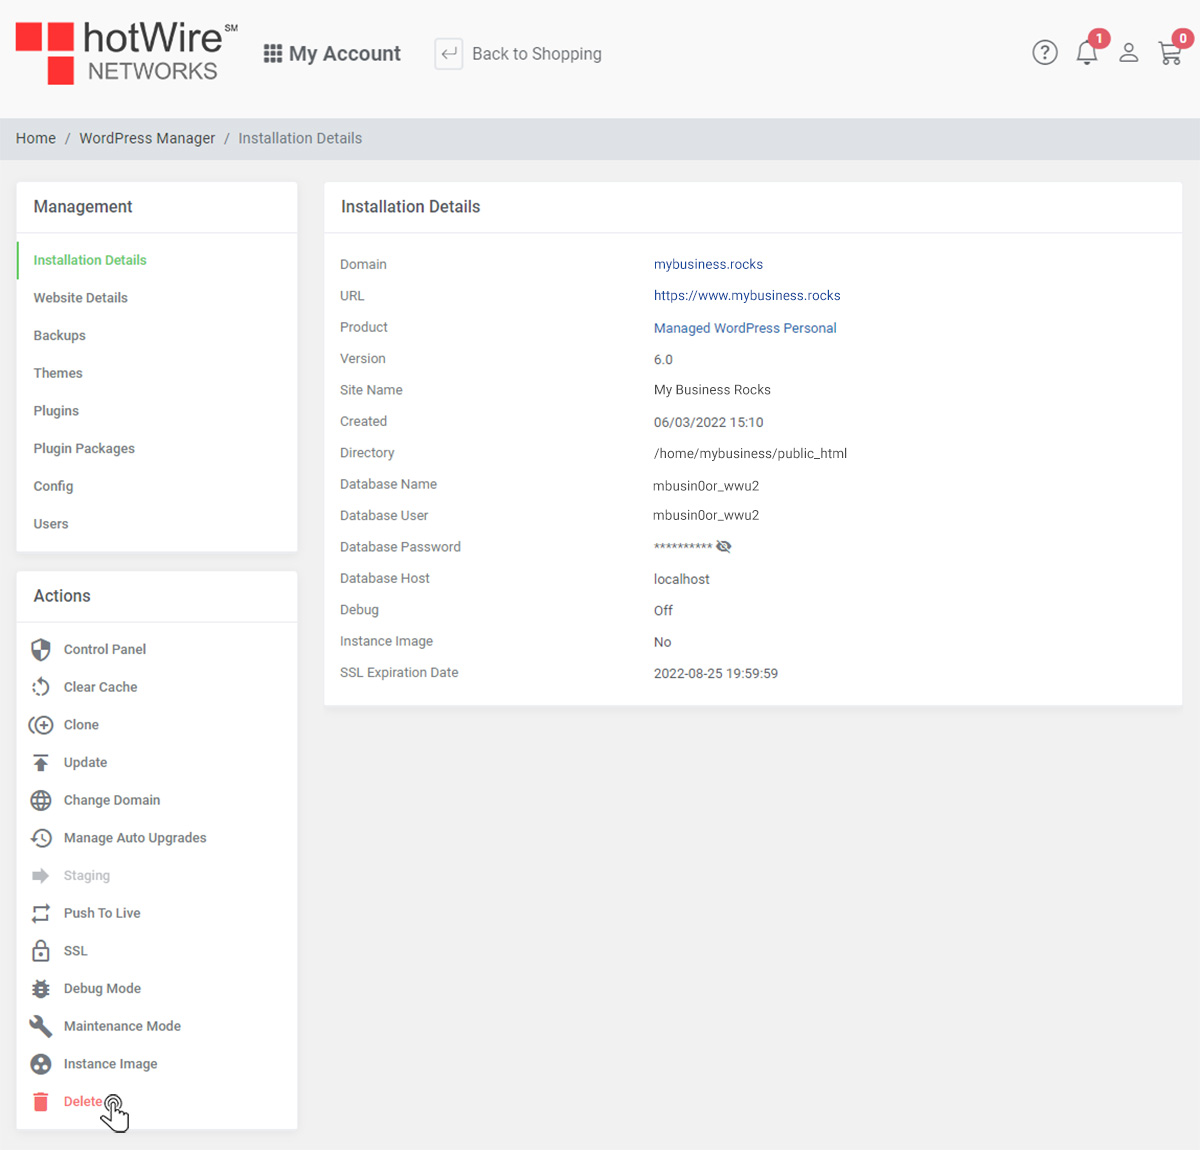
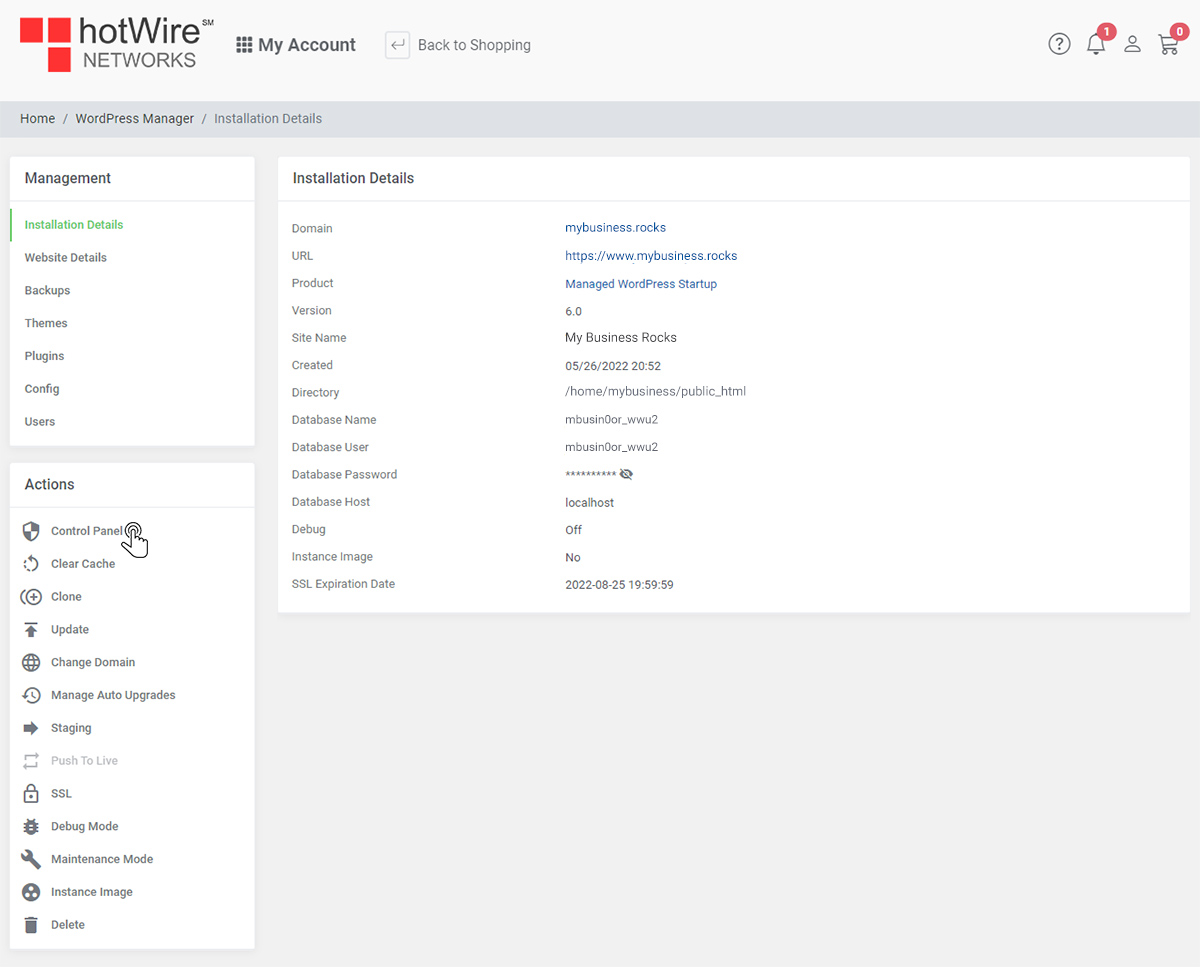
You will now be in WordPress Manager with "Installation Details" selected by default

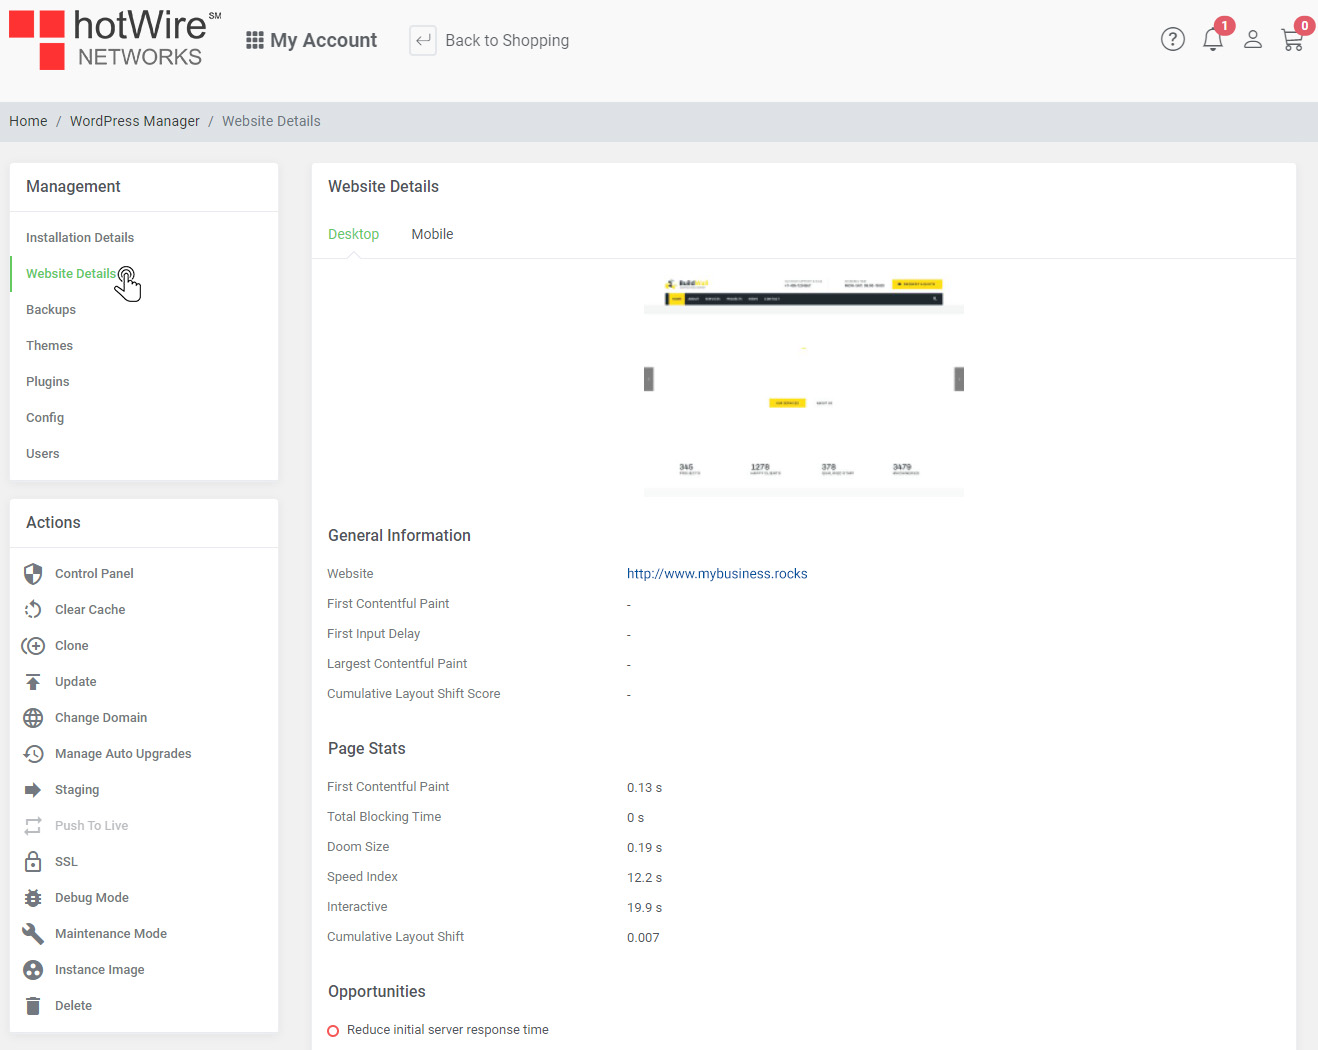
The following selection is "Website Details". Here, you have the option of viewing in "Desktop" or "Mobile"
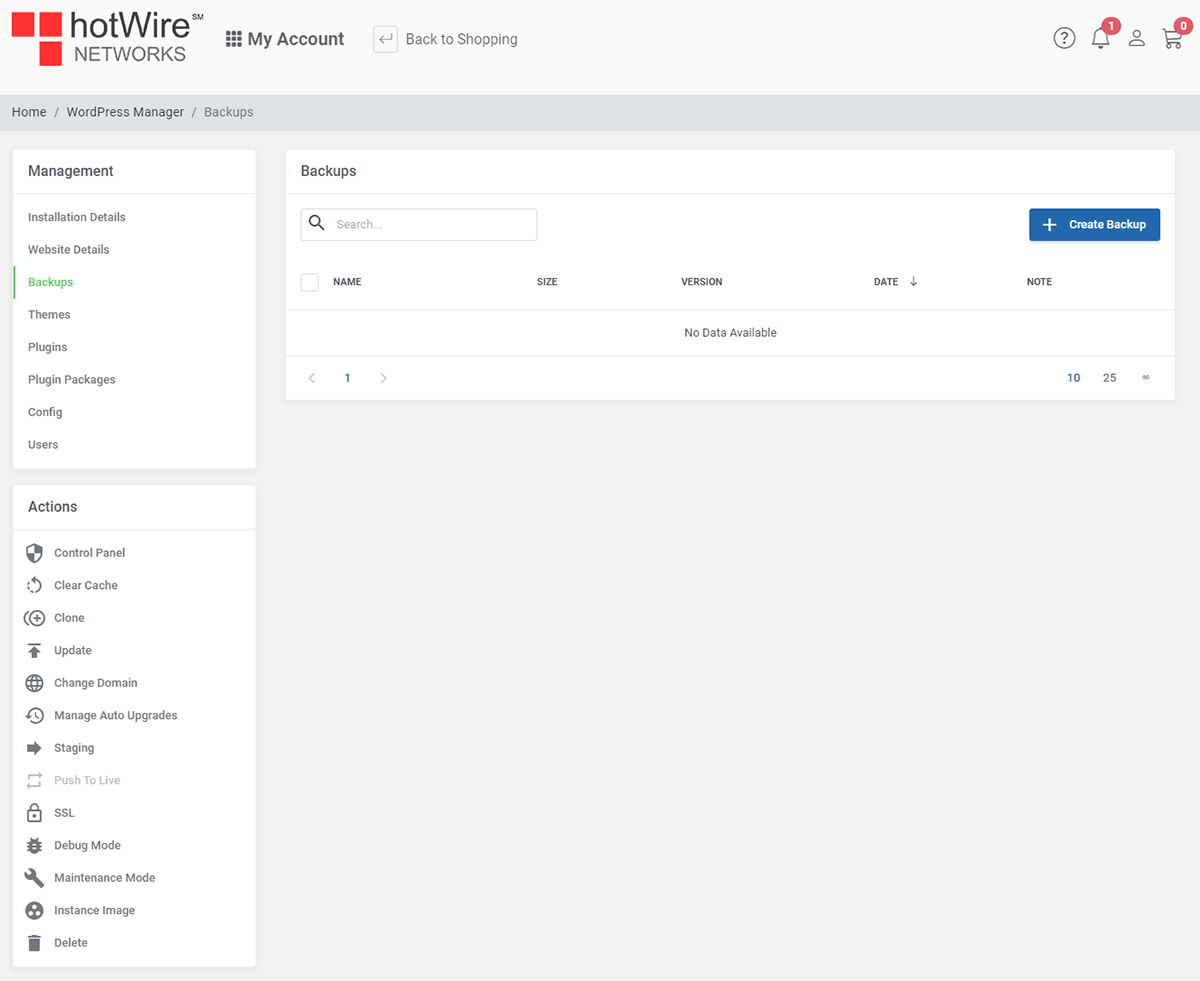
The third selection is "Backups". To learn more about backups, click here
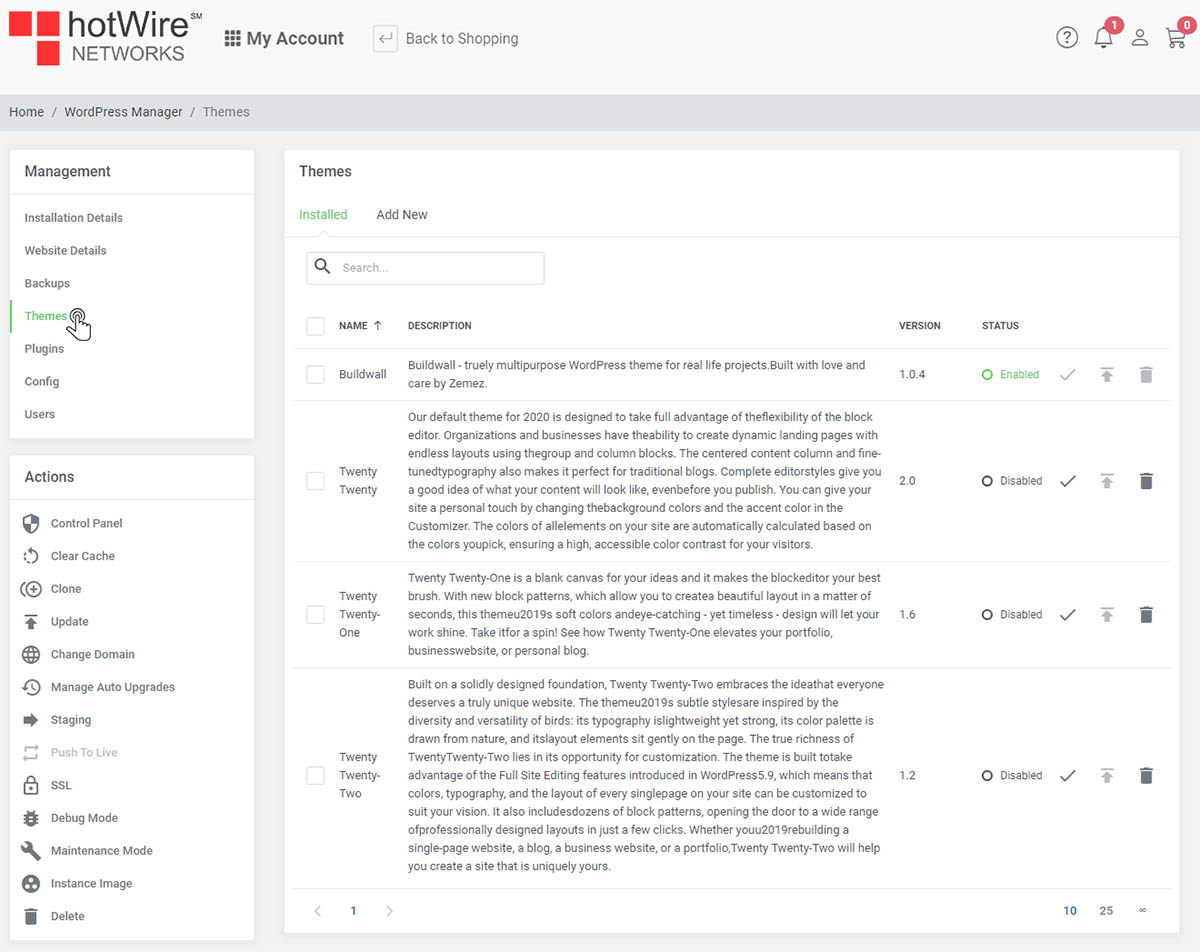
To check out the "Themes" options, click here
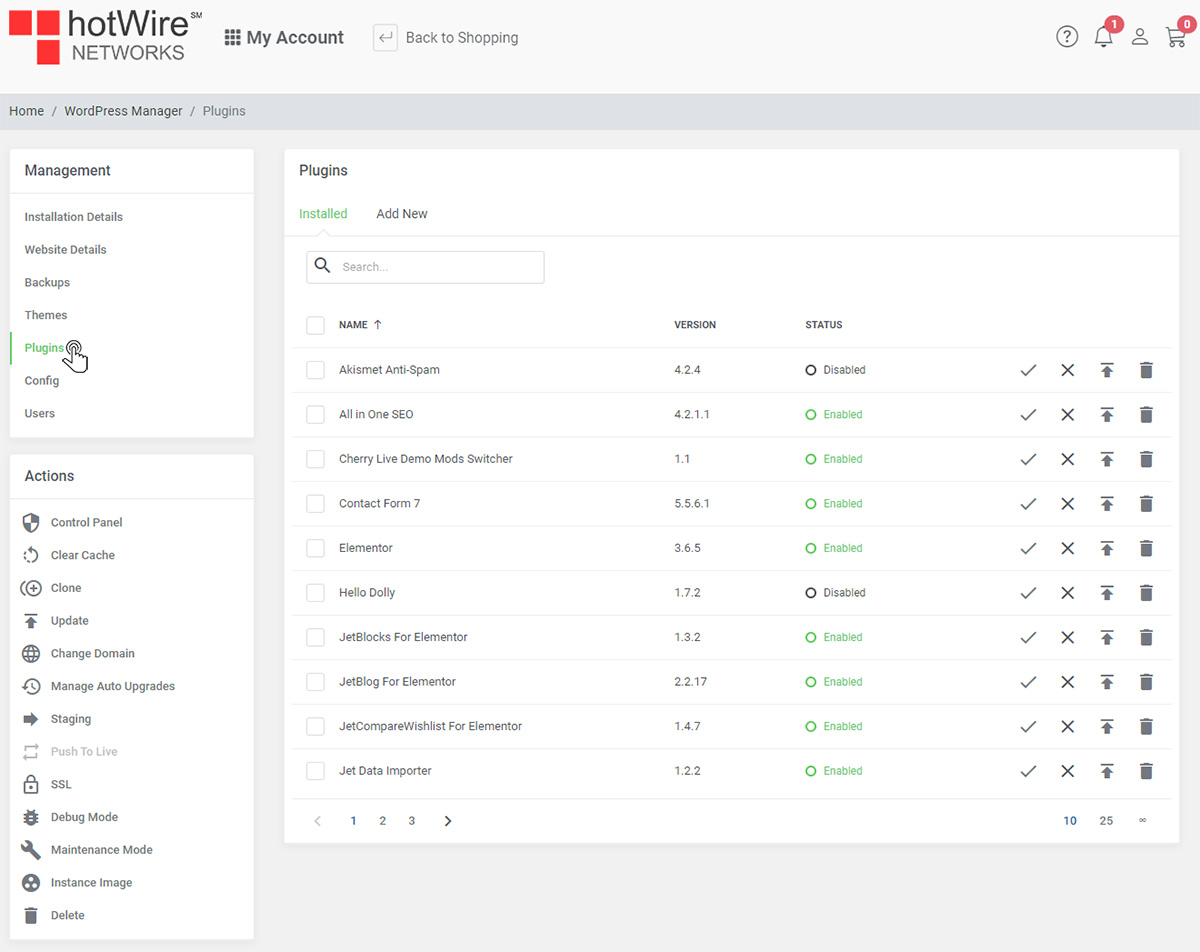
In "Plugins", all your plugins will be shown. You can also enable or disable any plugins that are installed
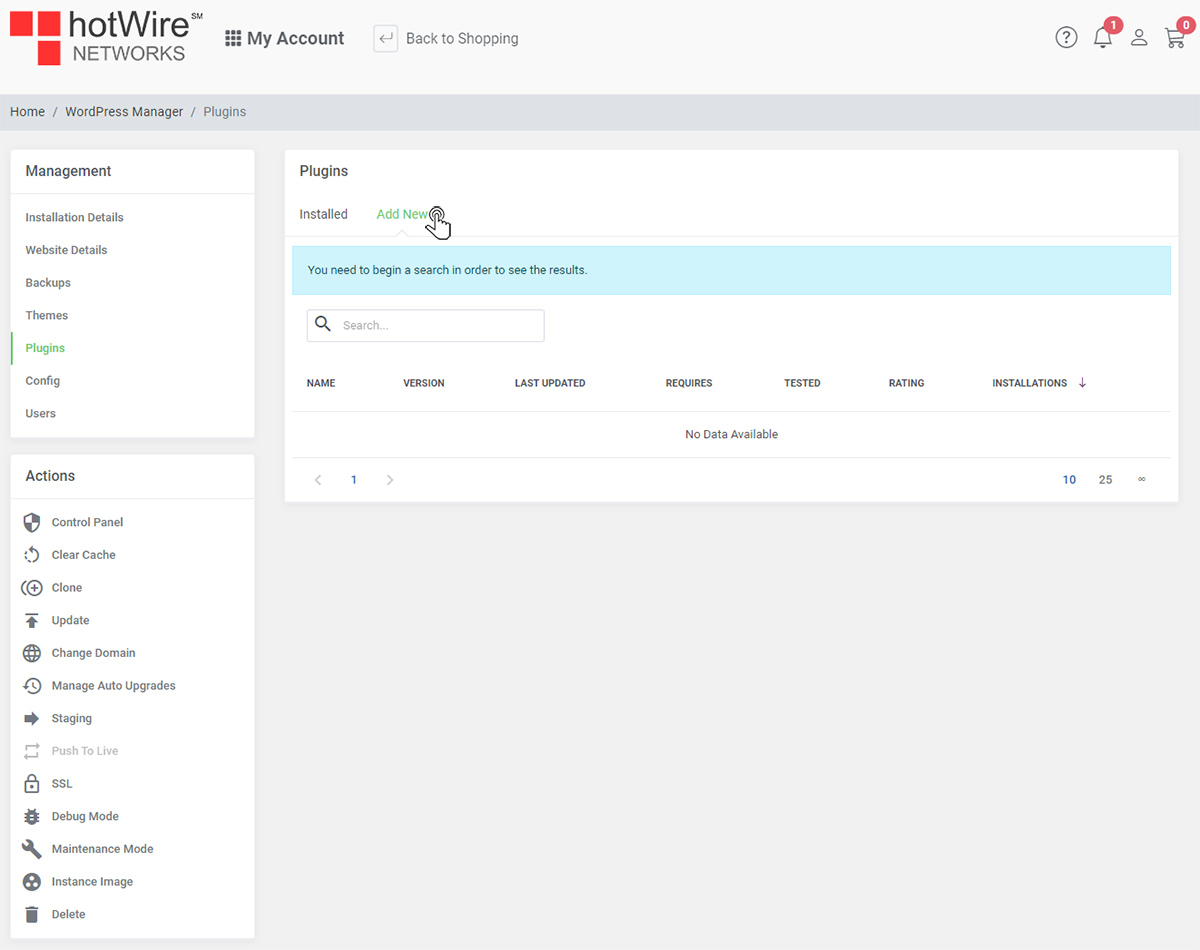
Here, you can also "Add New" plugins
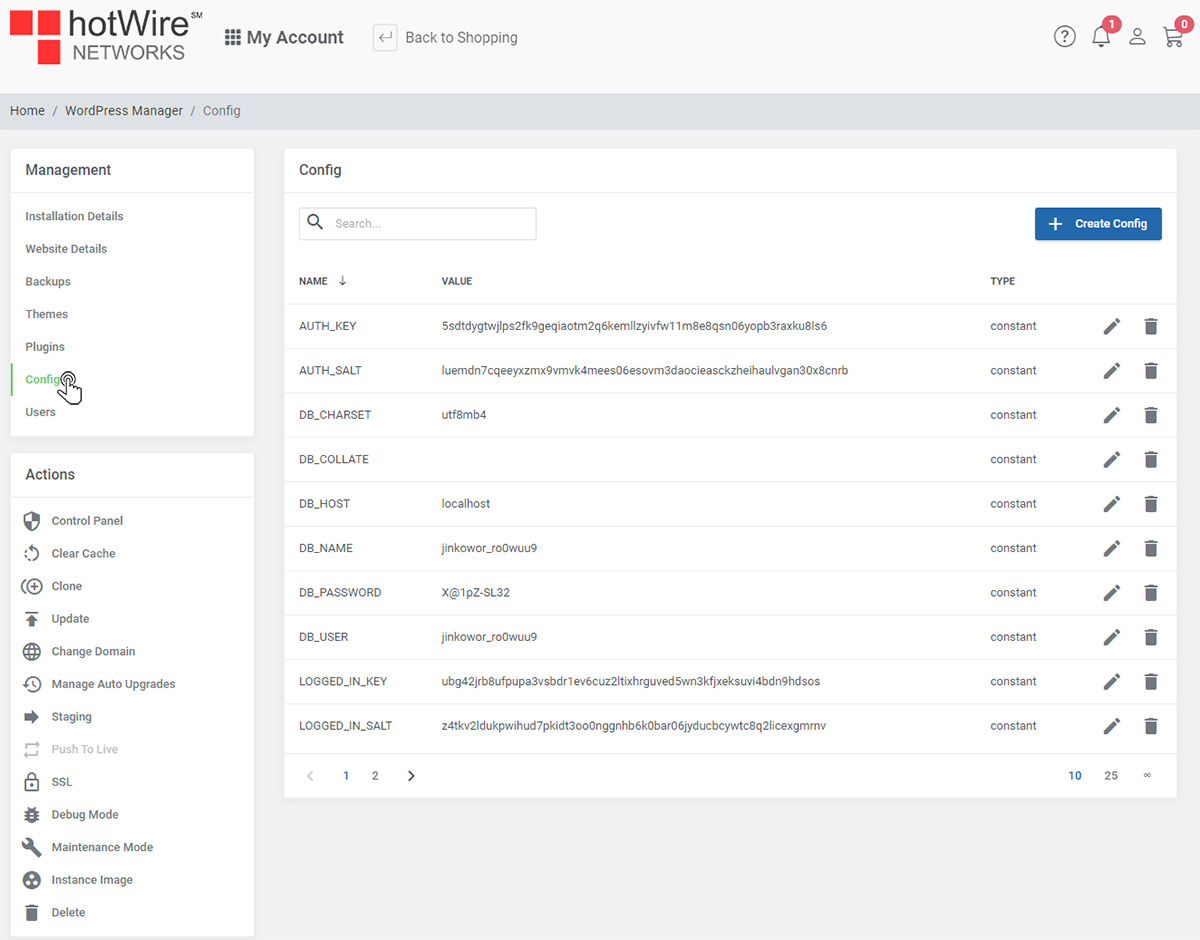
In "Config", you can view the configuration for your website, click here to learn more
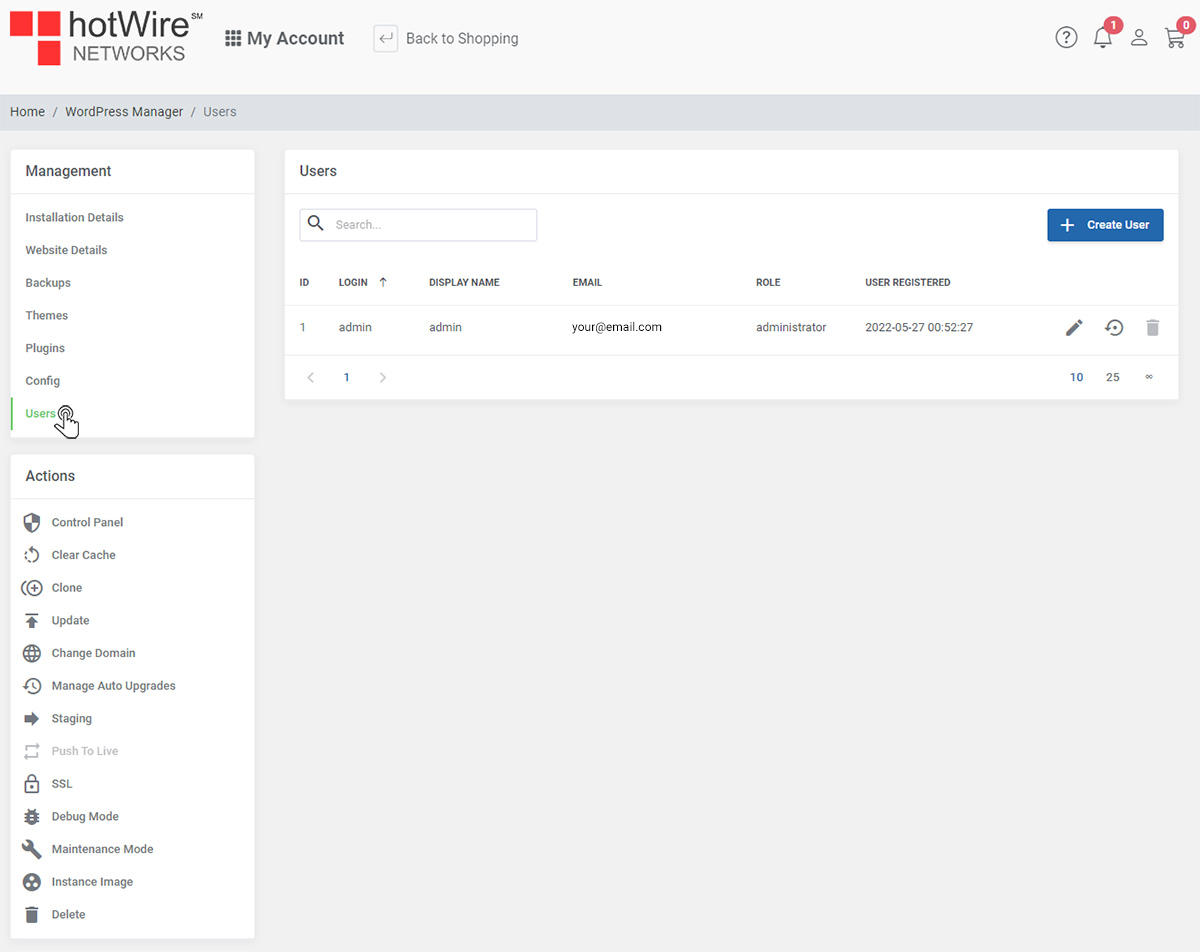
In "Users", you are able to manage all your users. Click here to learn more
We are now in the Actions menu. Clicking 'Control Panel' will bring you directly to the control panel in WordPress
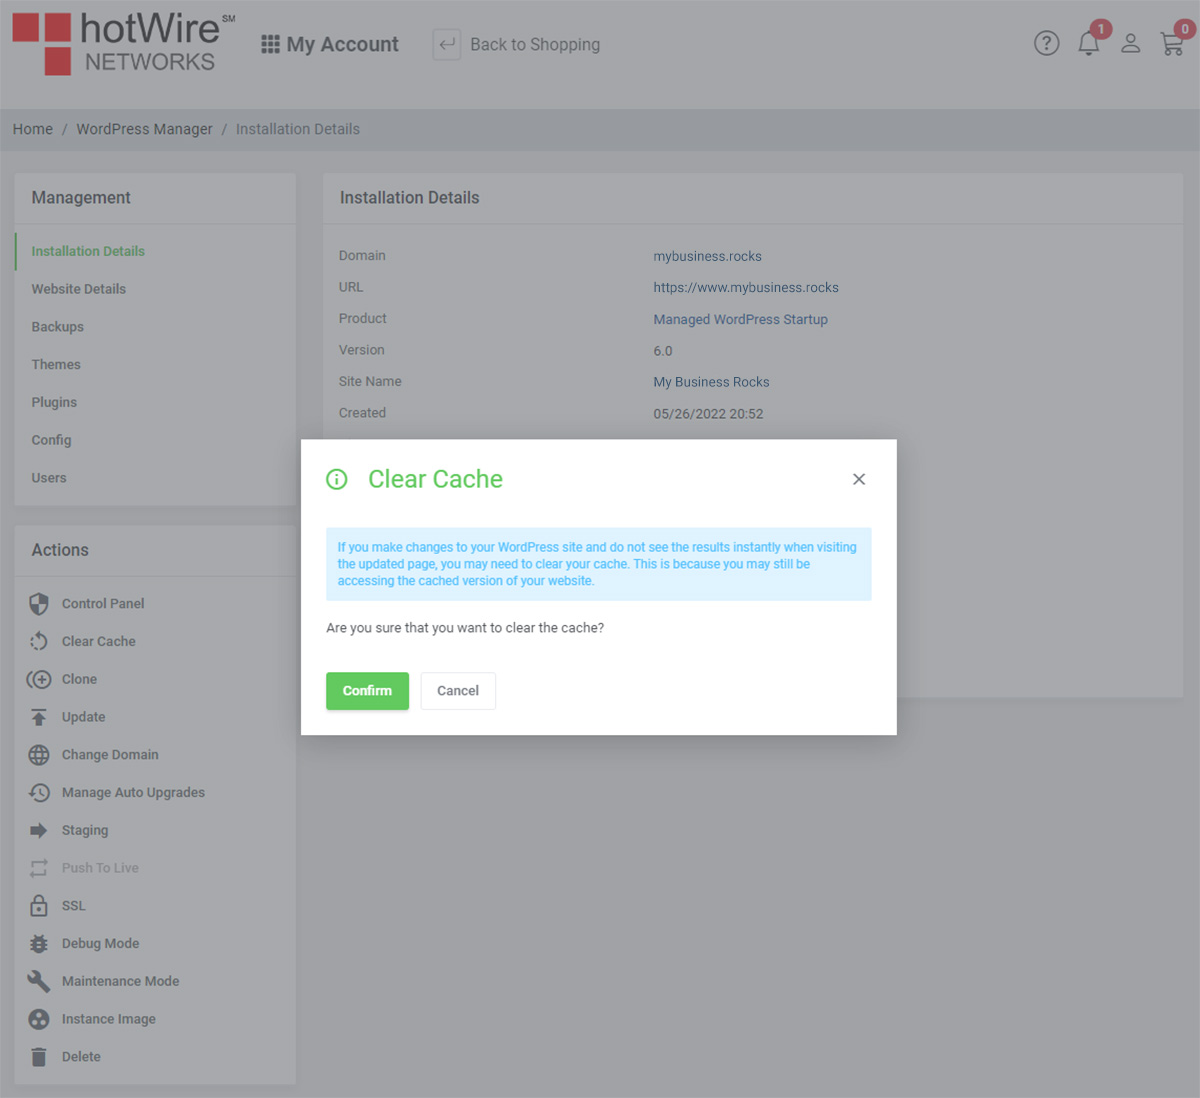
You can also 'Clear Cache' by going into your Actions bar

Confirm to clear your cache
The third option is the "Clone" feature, where your installation can be copied to another domain. To see the details, Click Here

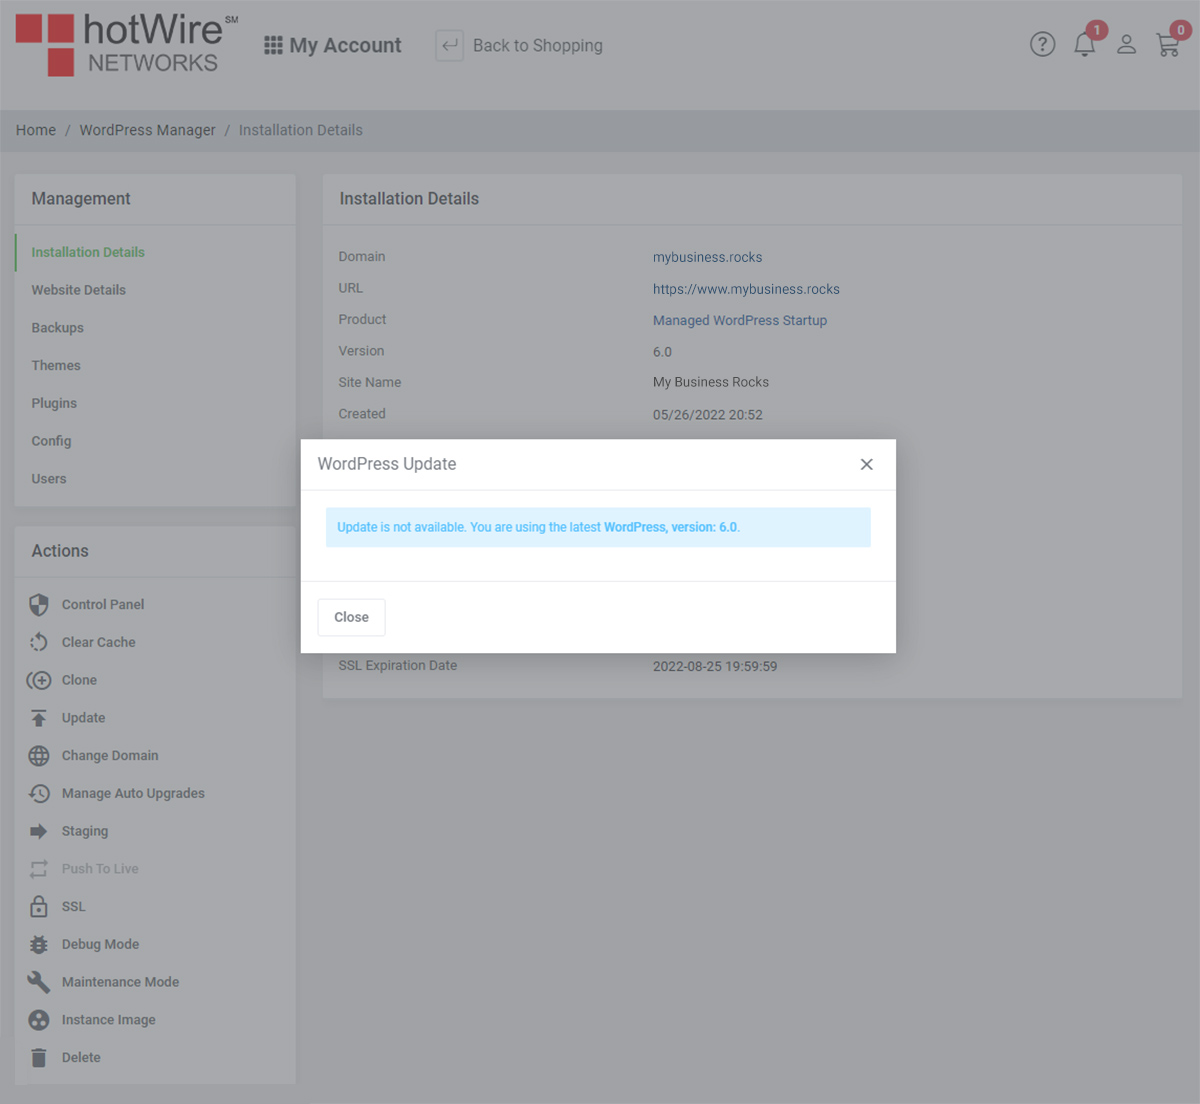
If you wish to update WordPress, here is where you can update it

You will be shown whether or not you are up to date
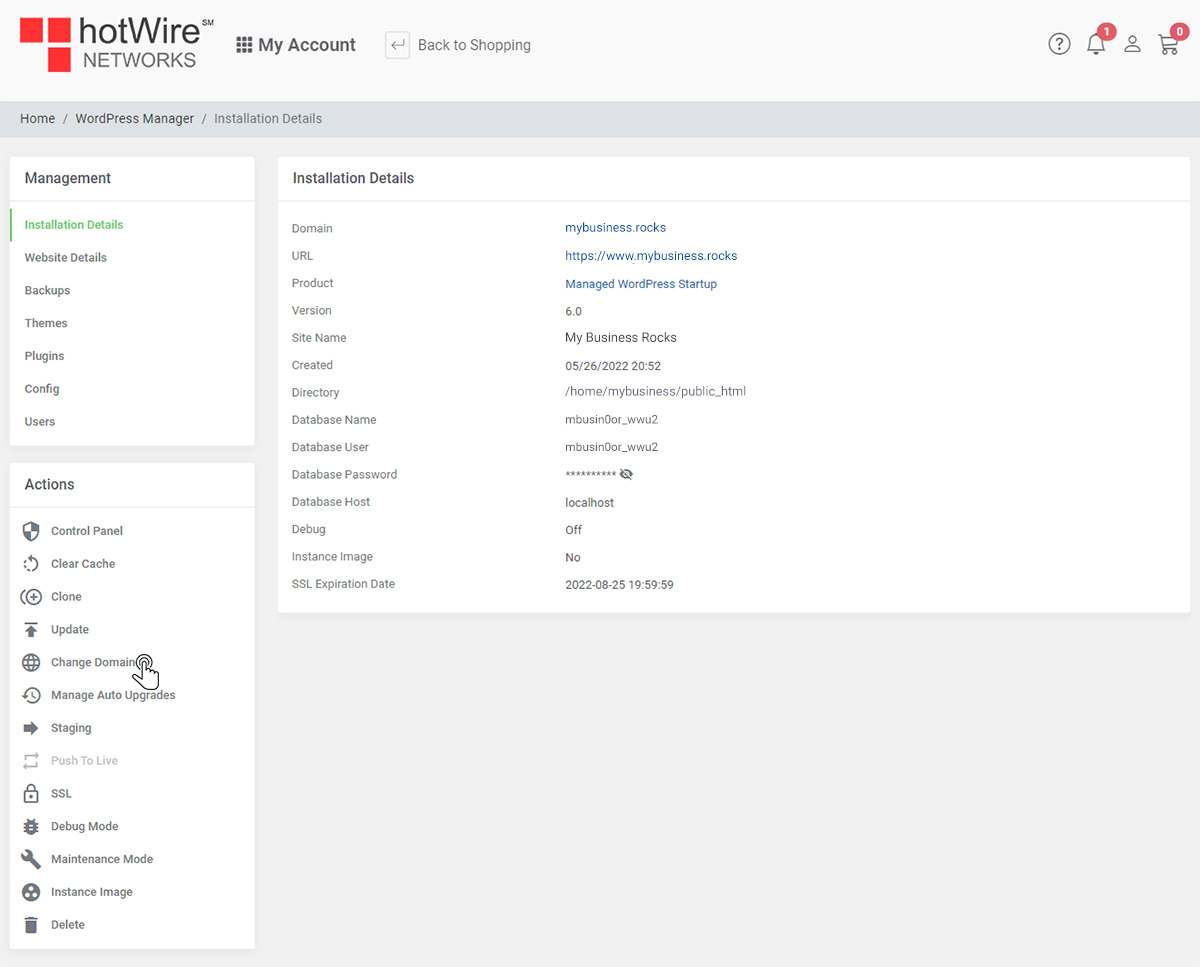
Here, you can change the domain associated with a WordPress hosting package, to learn more Click Here
You can enable auto upgrades by going to "Manage Auto Upgrades"

Staging is where you can create an instance, a closed environment, to test your website. To see how it's done, Click Here

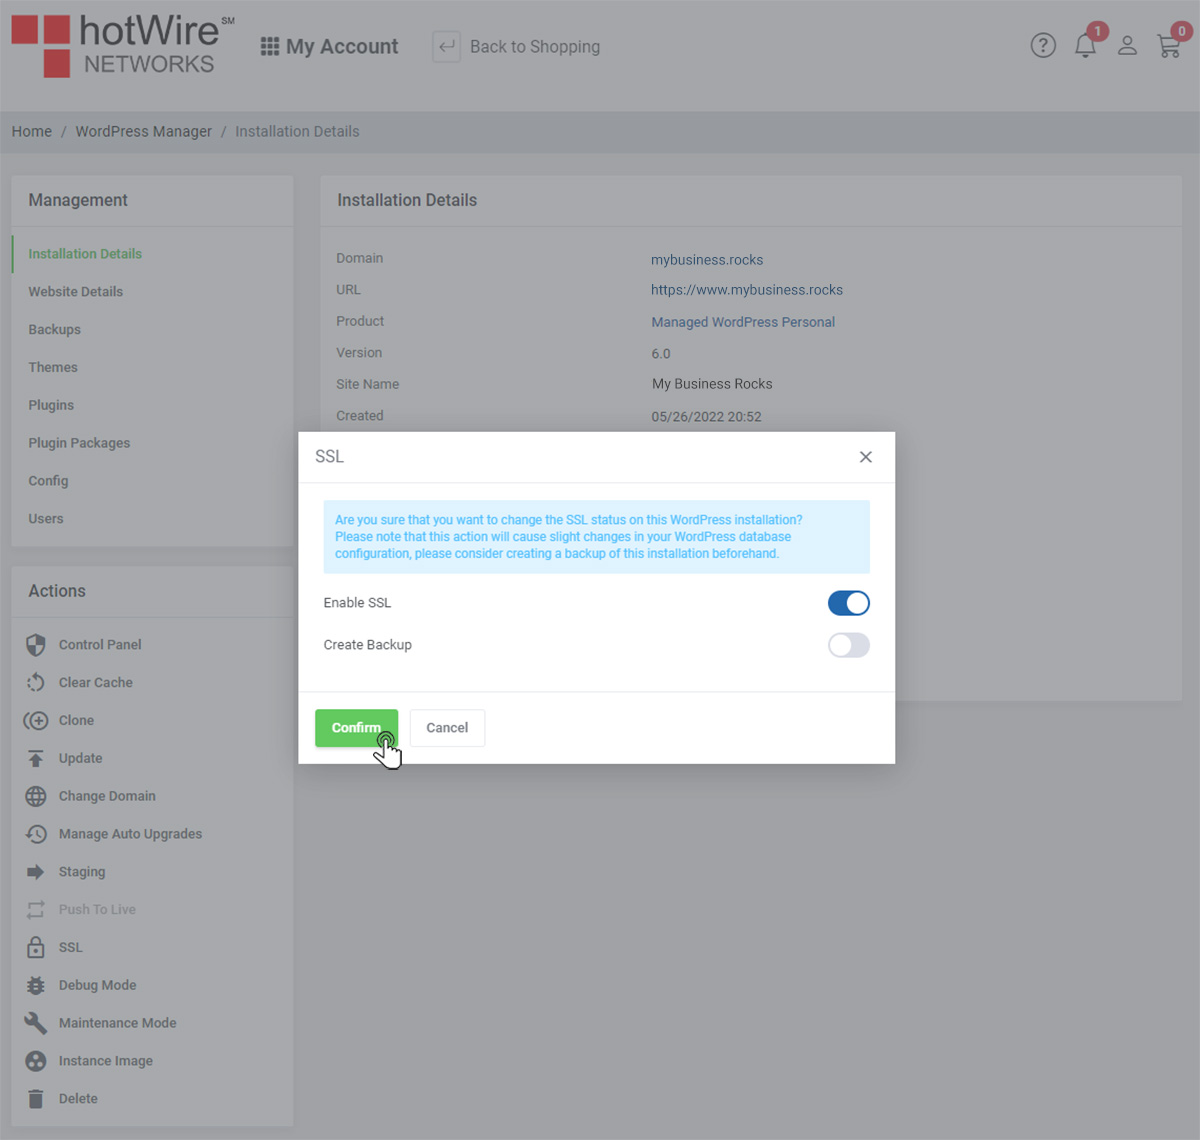
Here is where you can toggle your SSL

Click [Confirm]
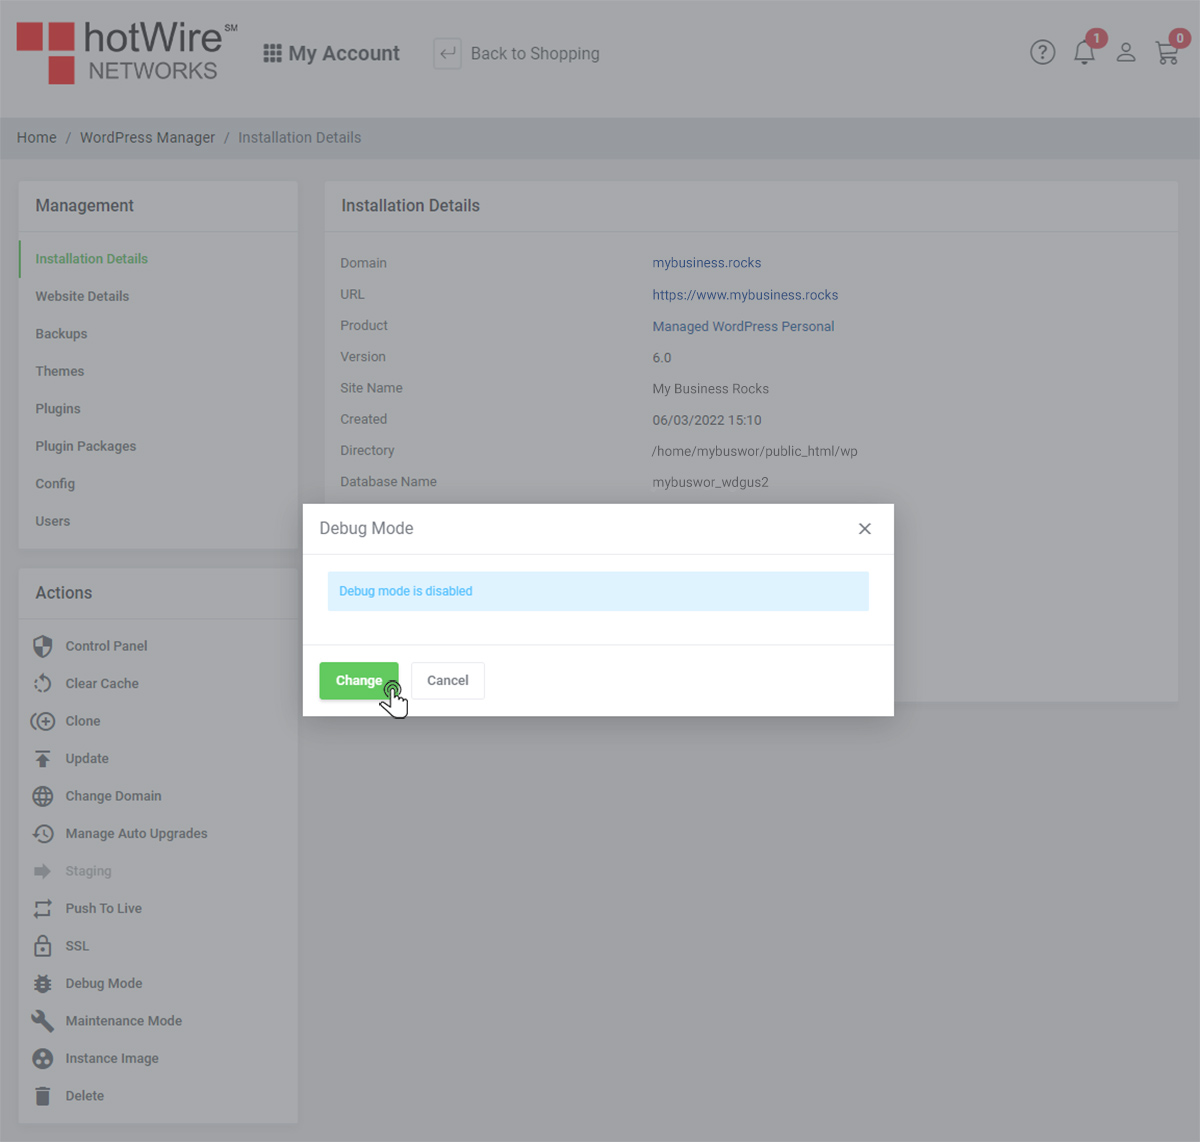
Trobleshooting?, you can turn on or off "Debug Mode" here

Click [Change] to enable "Debug Mode"
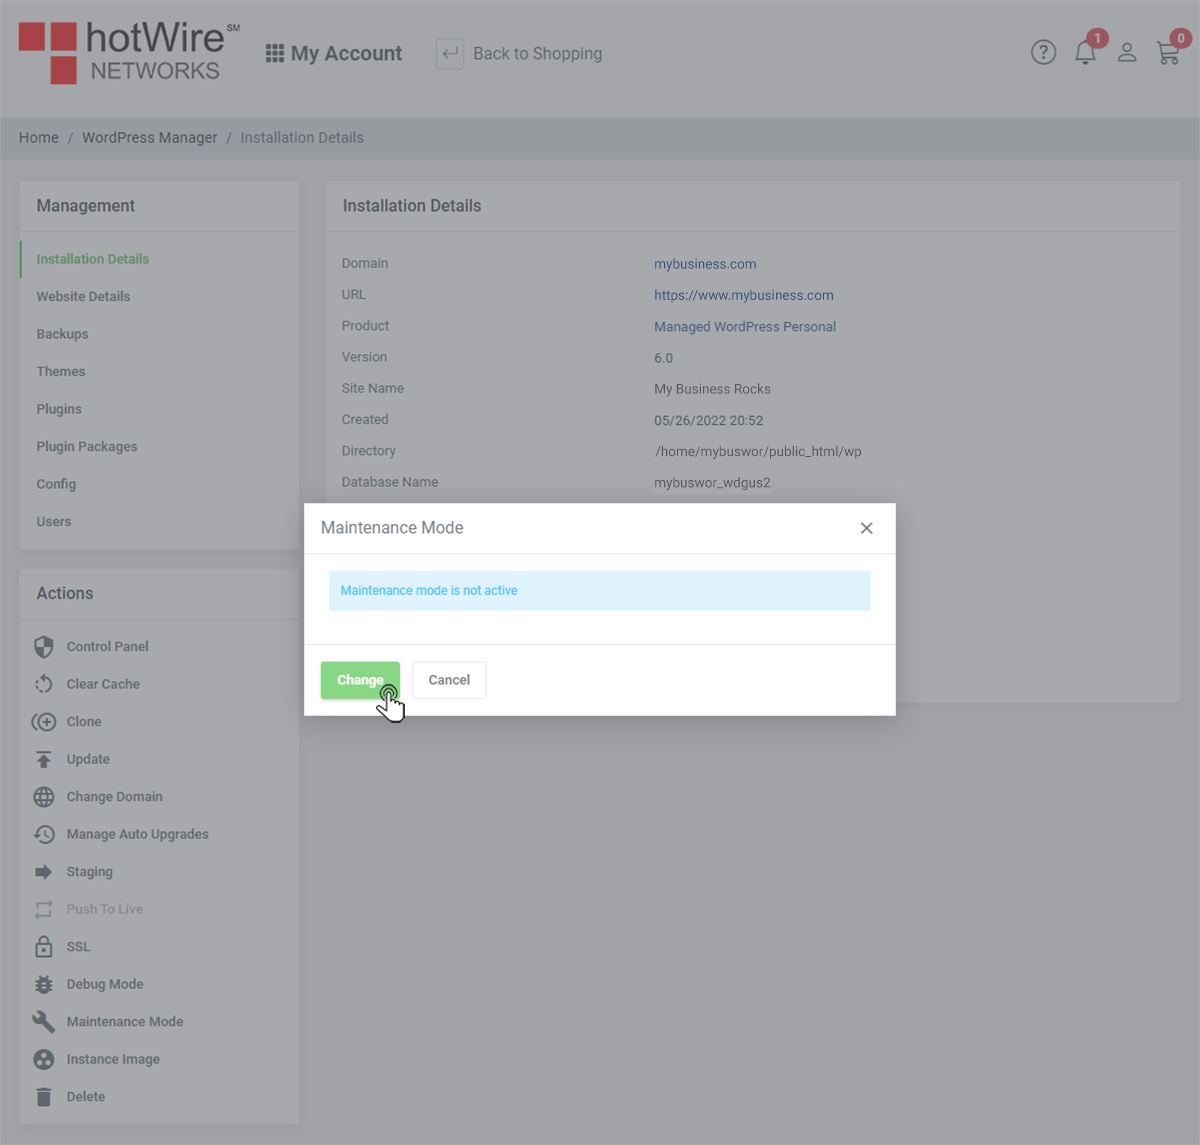
If you have updates, need to fix or adjust your website, you can turn on "Maintenance Mode" to get it done. No one can access the website but the admin and whomever that is approved to be on for said reasons
If you need to create an "Instance Image", here is where you can get started, Click here to learn more about "Instance Image"

To say bye-bye to an installation you like to get rid of, "Delete" is on the bottom left of your window, under Actions. To see the options you have when it comes to deleting your installation, Click here