Staging is a nice feature to have if you need to test out your website. No one else will see your results until you push it live.
If you have not yet sign in, Click Here to log into your account
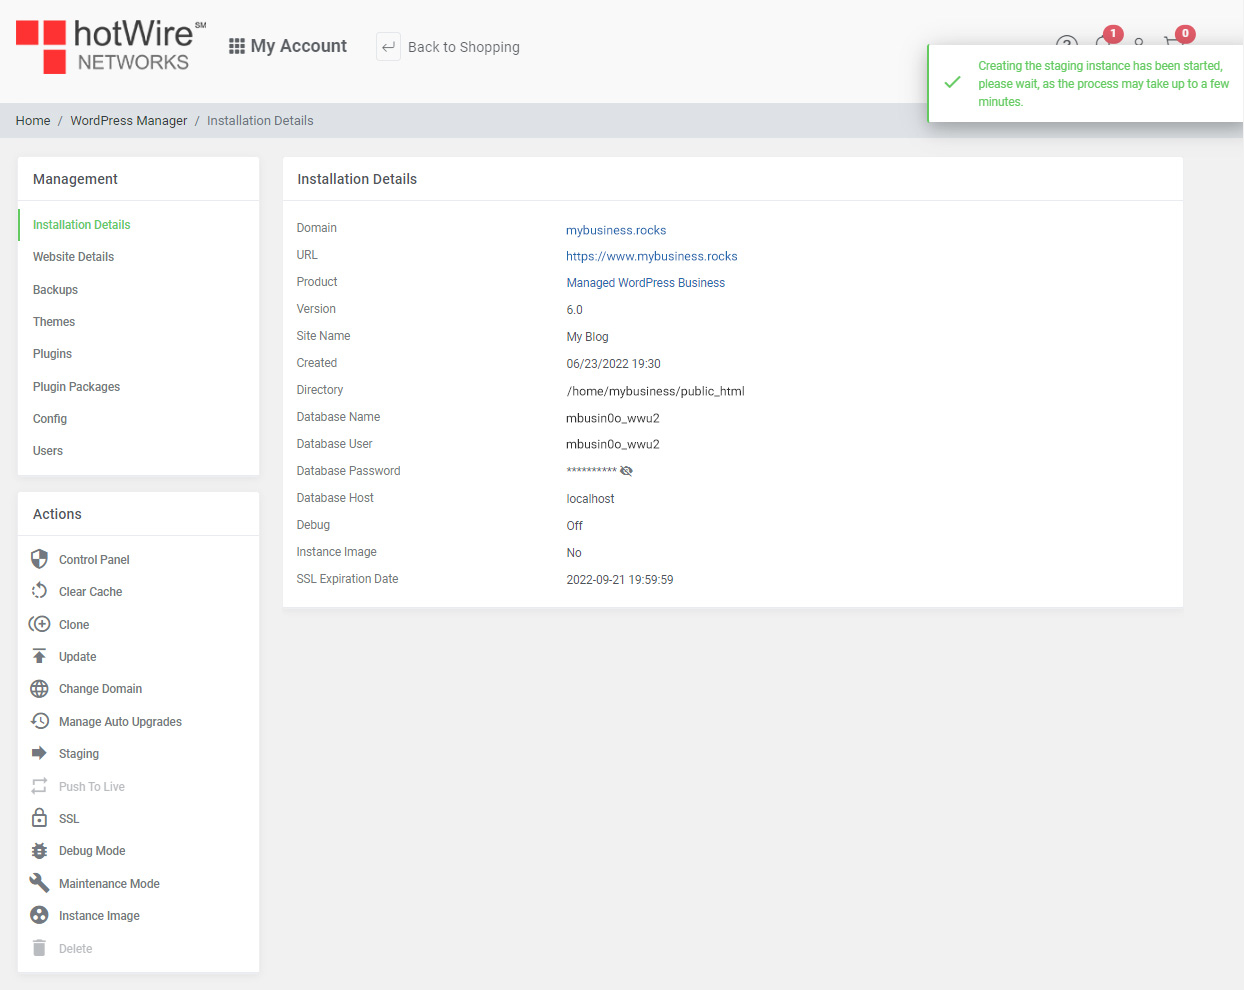
Step 1: Under Actions, click "Staging"

Step 2: Make sure you choose the correct Protocol, otherwise you may not be able to stage your work. Click the down arrow and choose the Protocol your website requires
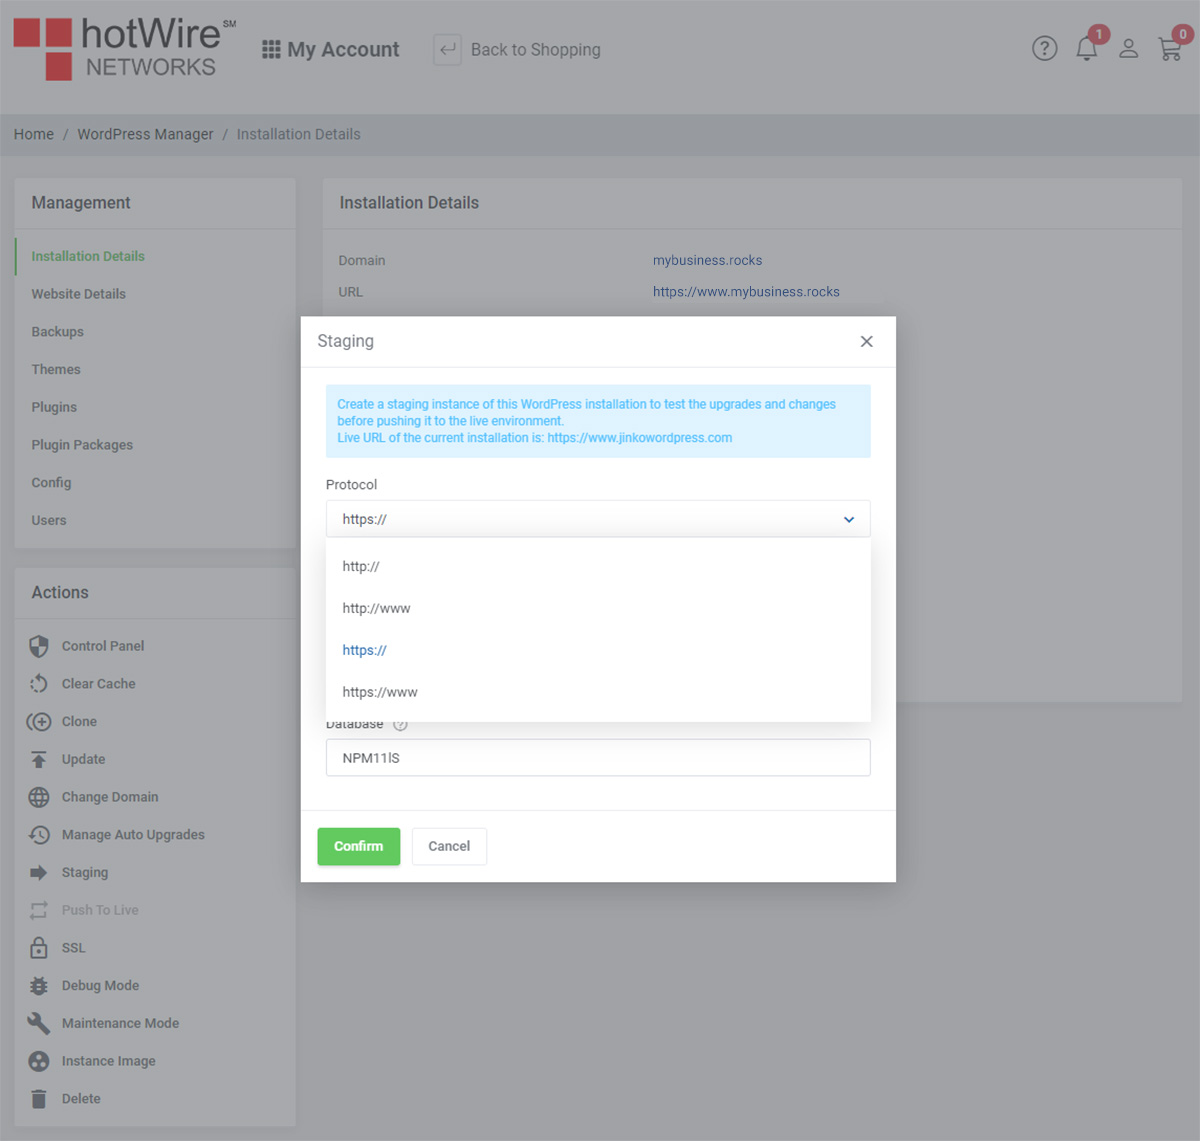
Most if not all of the time, you will be using the format https:// as this is a secure protocol
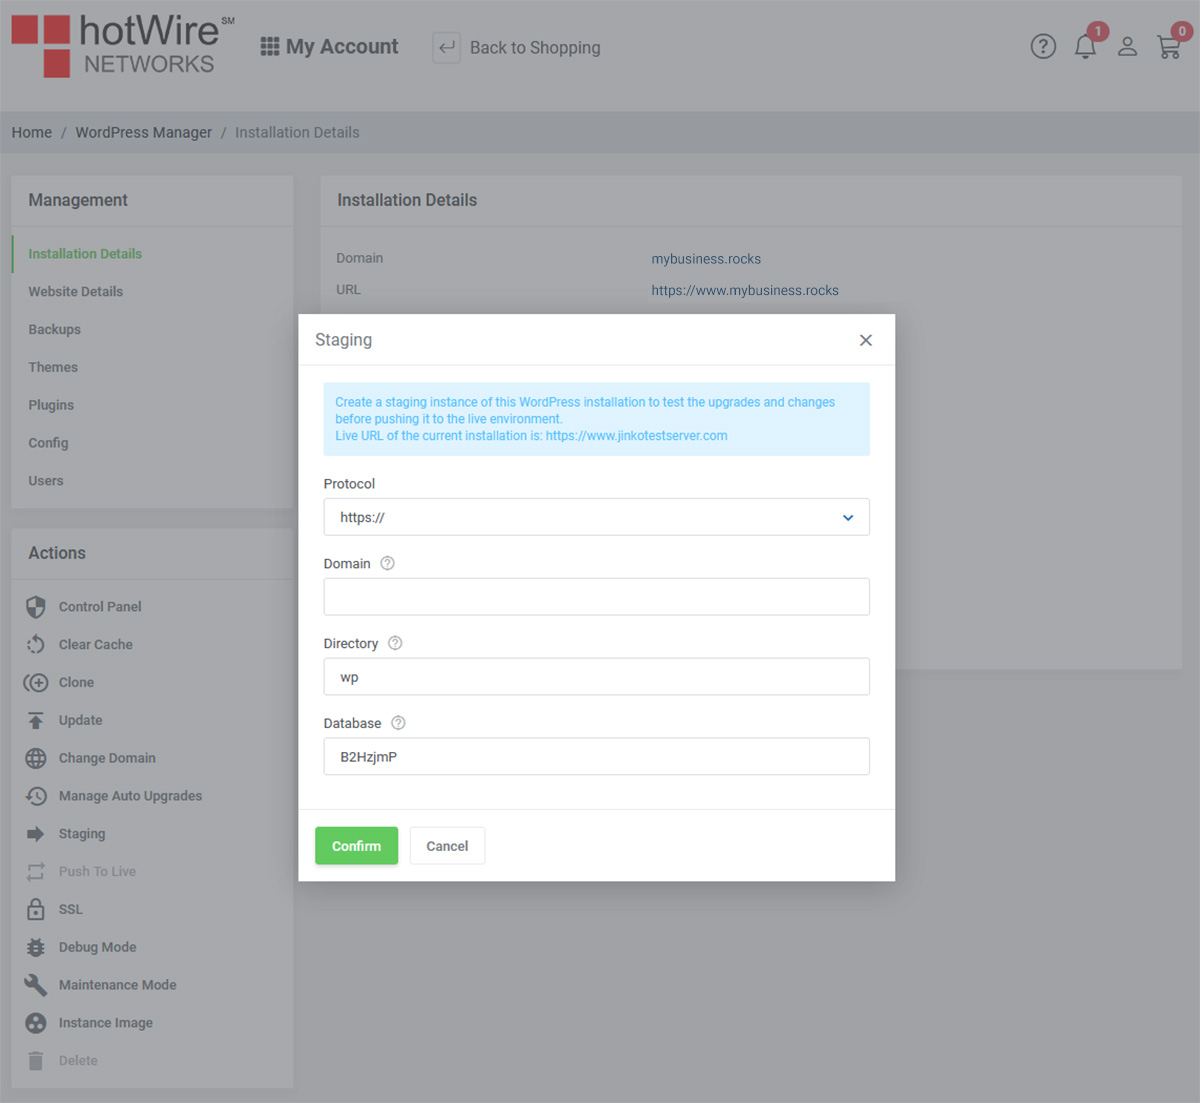
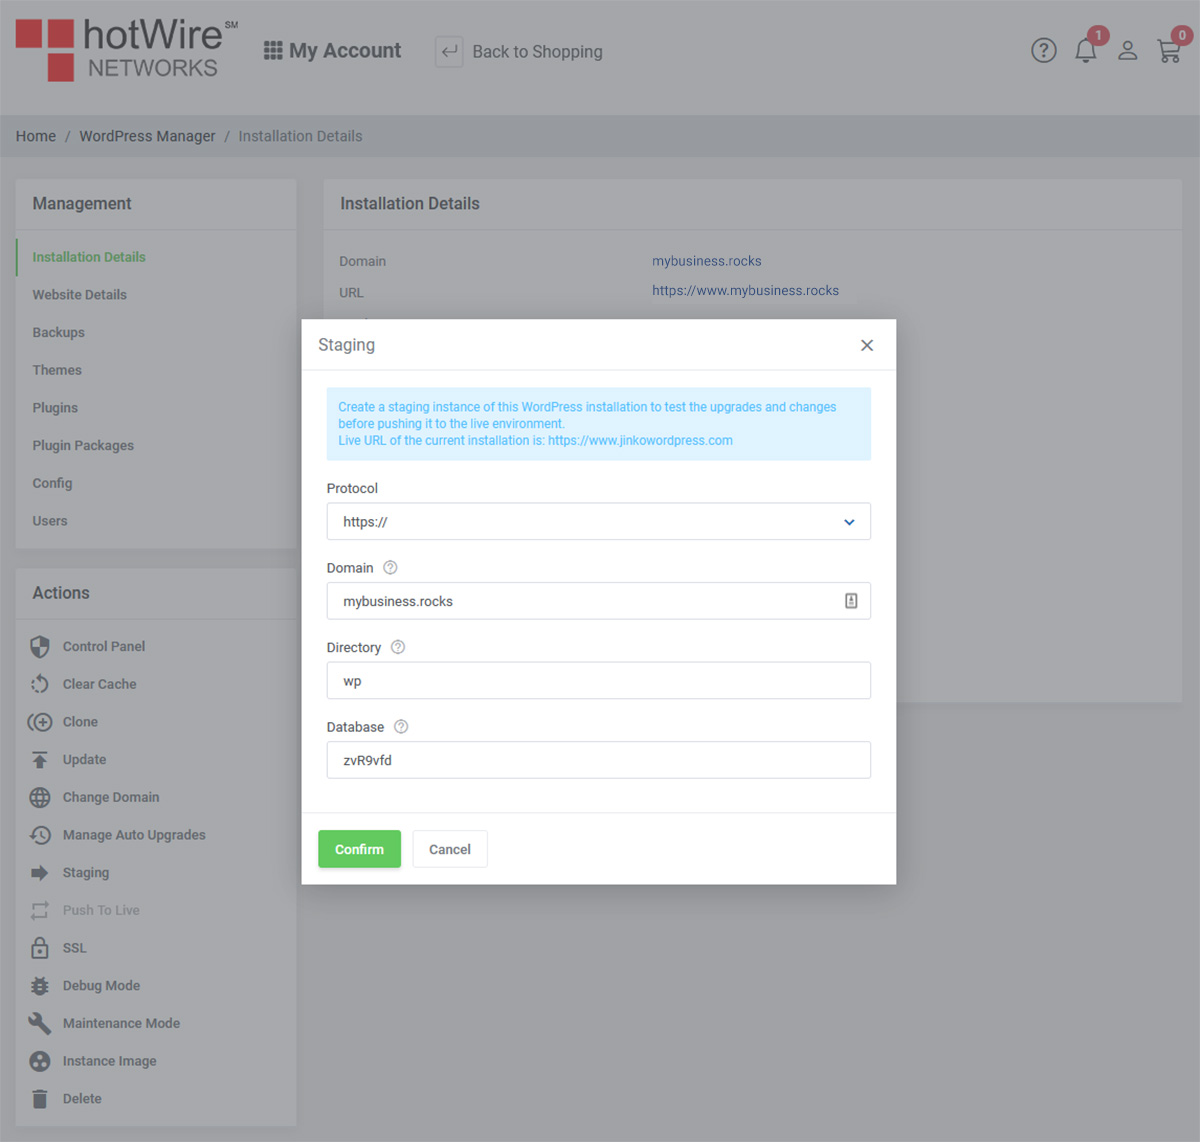
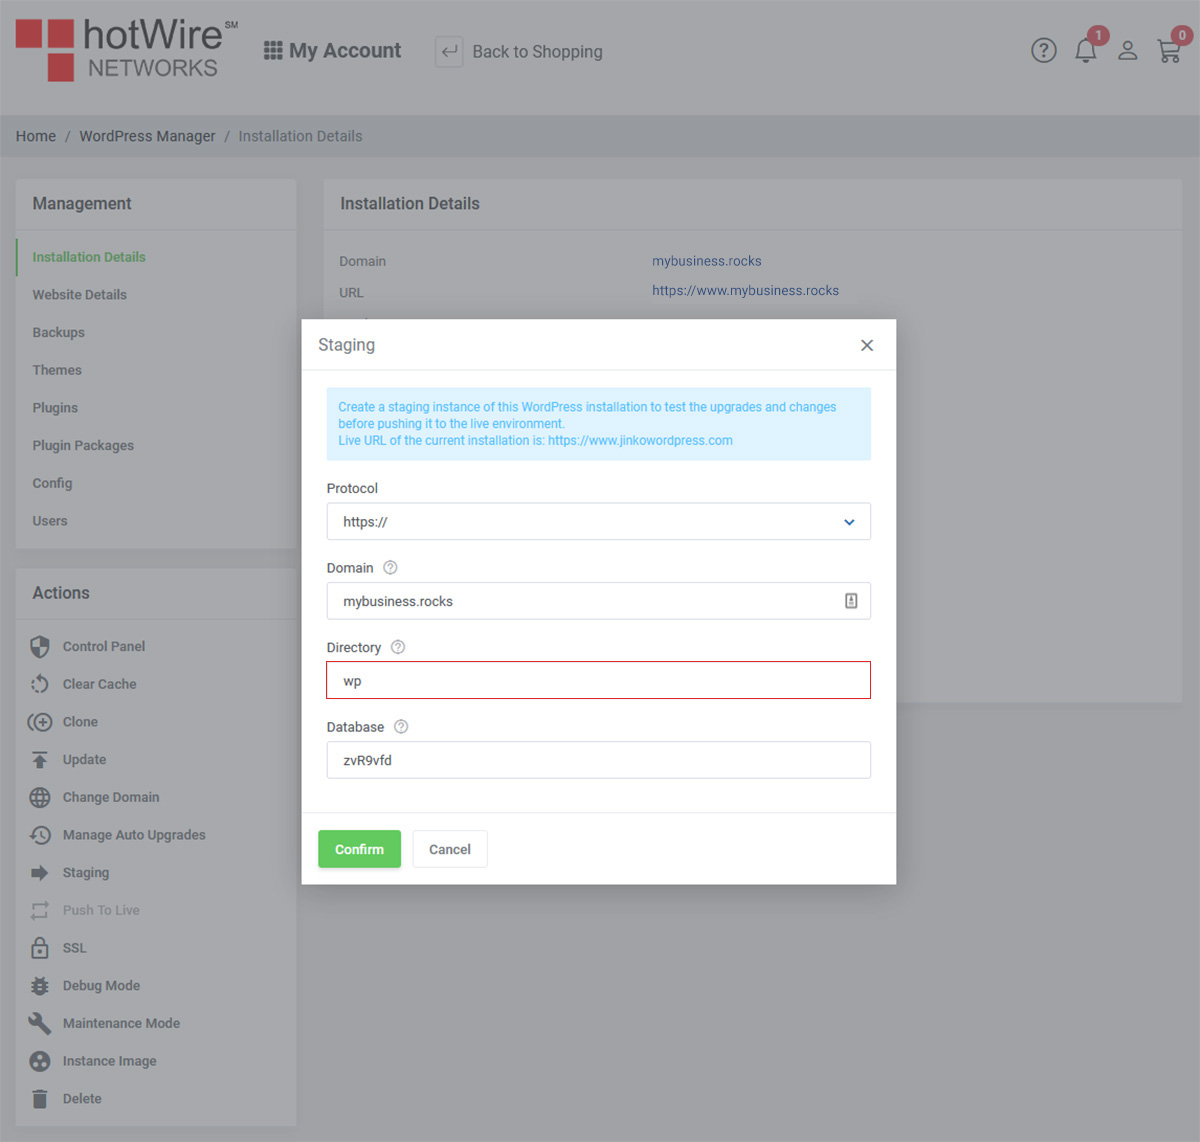
Step 3: Enter the domain you want to be staged
By default, the directory will use 'wp' to where your staged domain will be. You can always change what directory by entering in this field
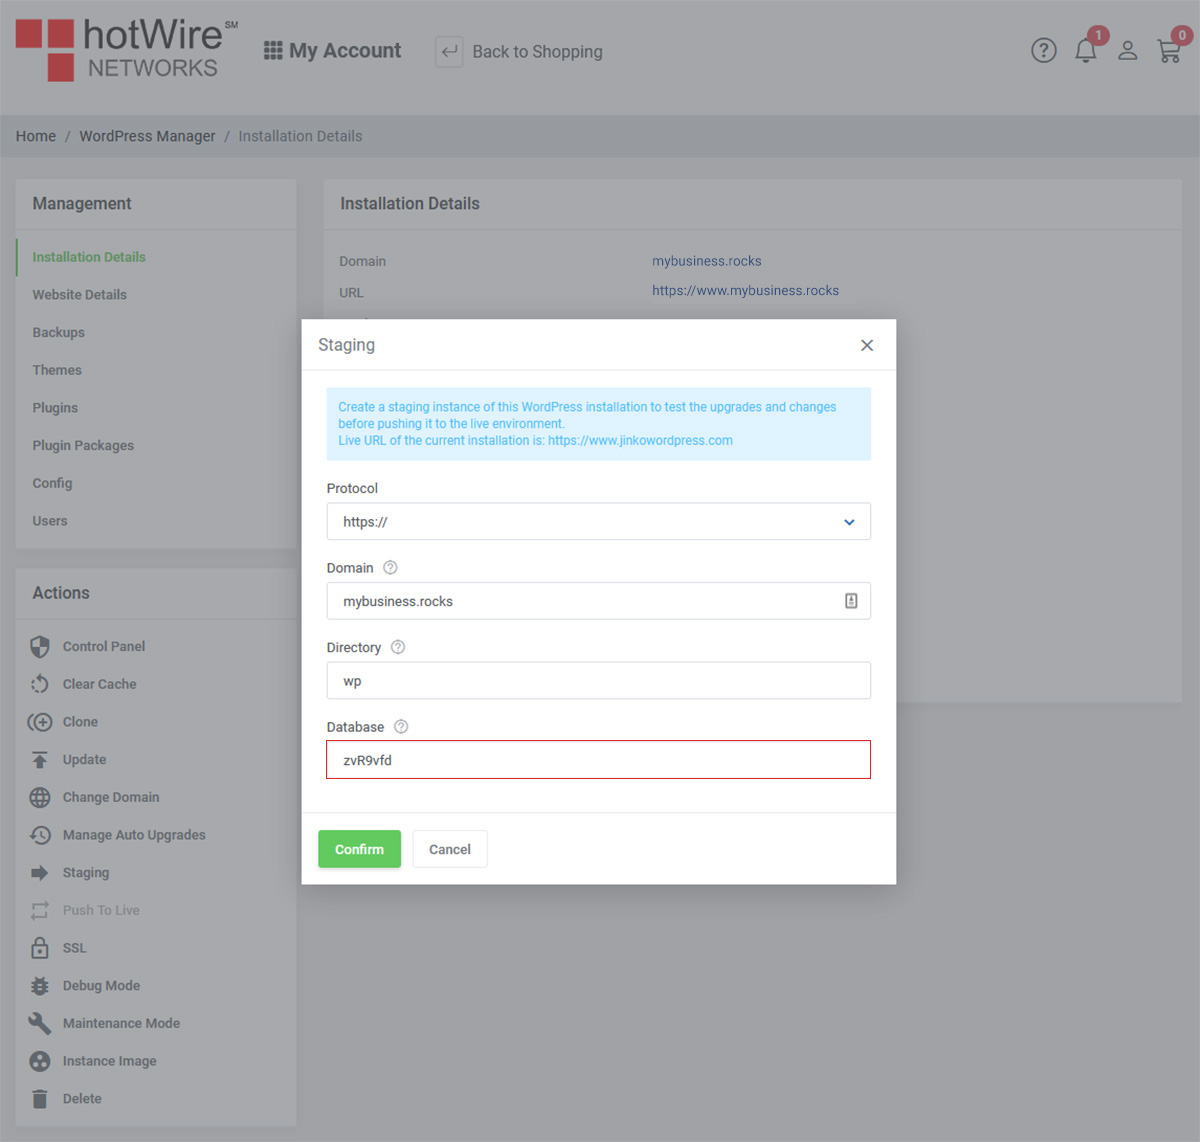
Step 4: The database will randomly give you 7 new characters when staging a new domain. If you have a specific database you want to use, enter it in this field
Step 5: Click [Confirm] when completed
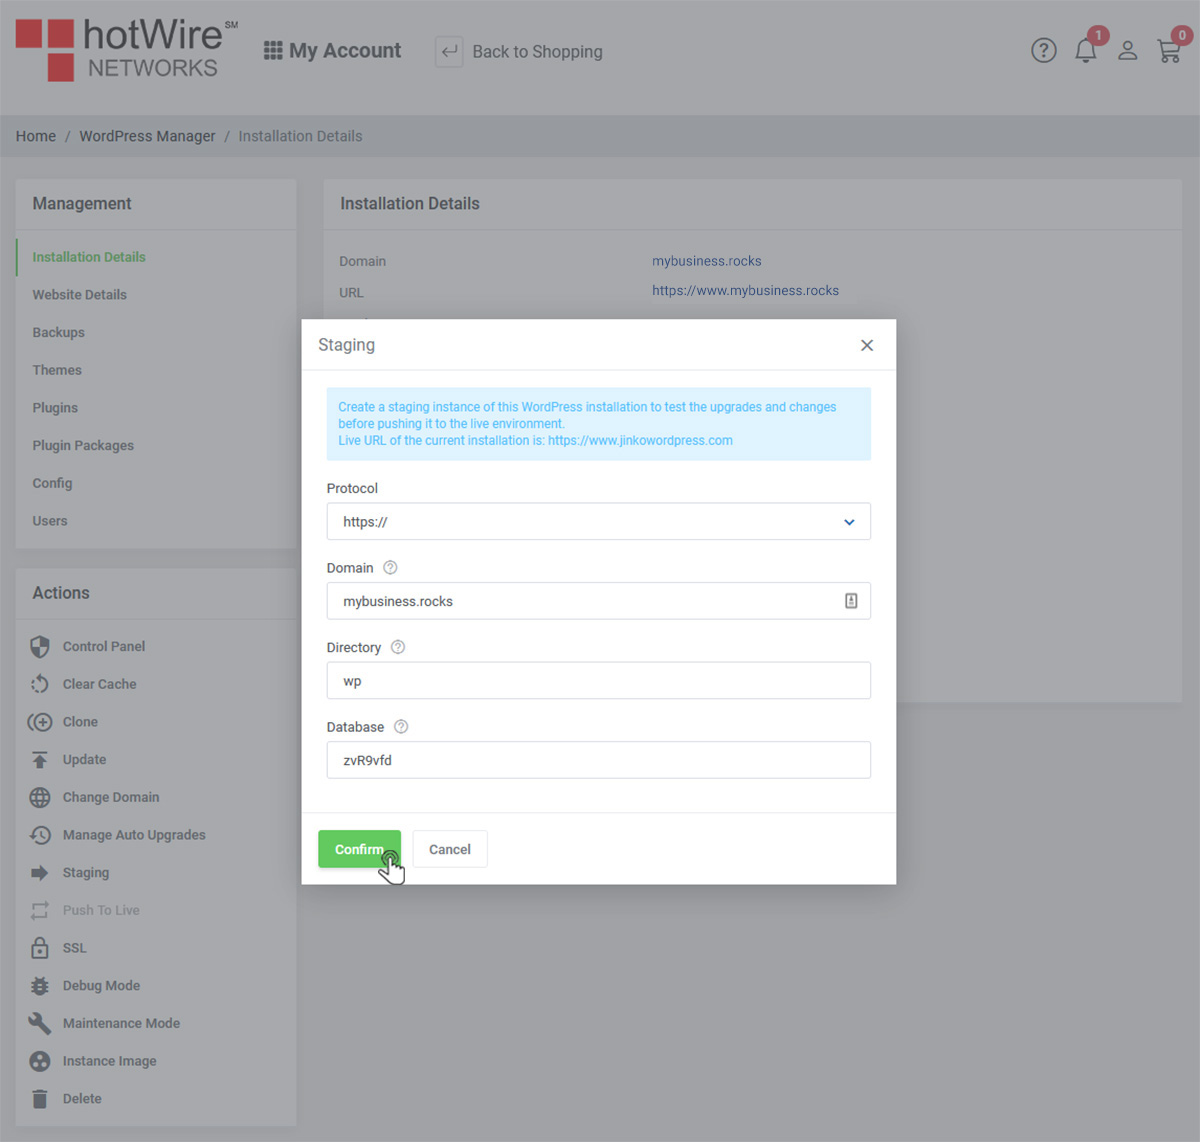
You will see a message stating that the processes will take up to a few minutes