To learn how to configure your plugins in WordPress manager, continue below
If you have not yet sign in, Click Here to log into your account
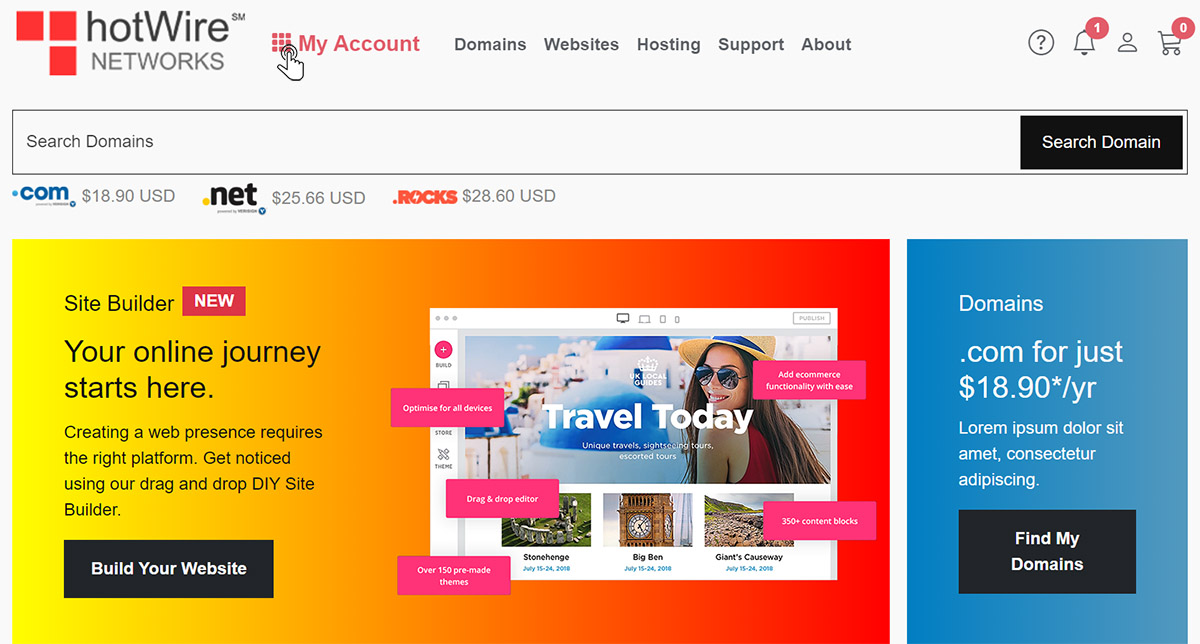
Step 1: Click on "My Account" to enter your account
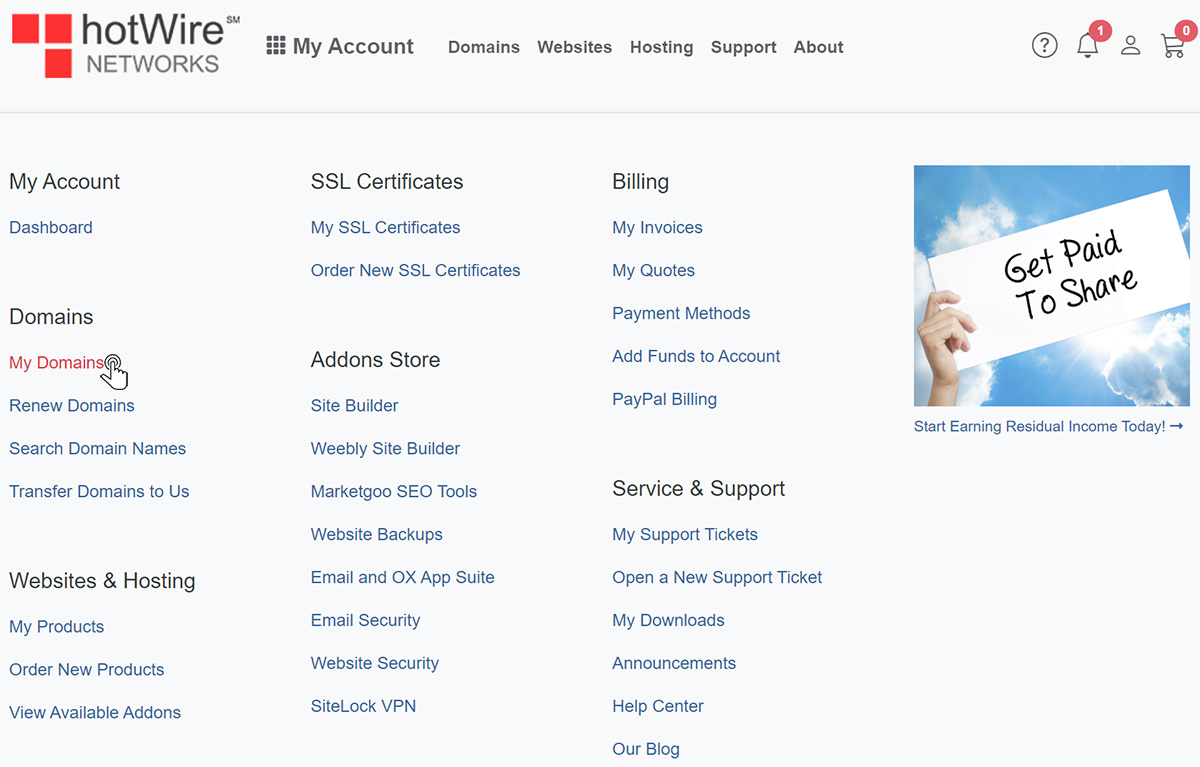
Step 2: Click on "My Domains" to access your list of domains
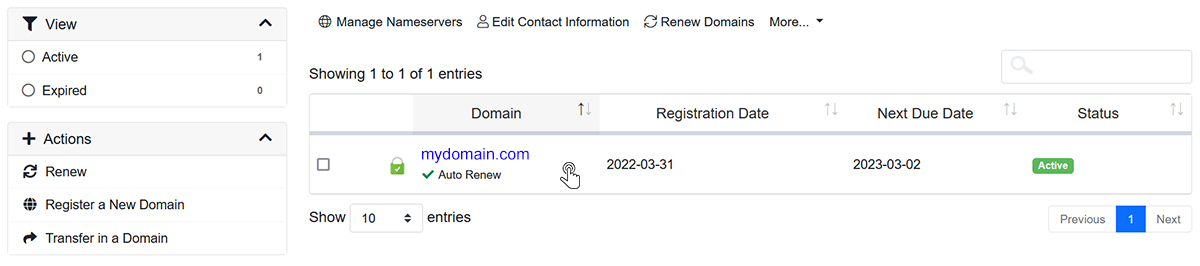
Step 3: Click inside the row of your domain
Step 4: Click "Plugins" located under Management
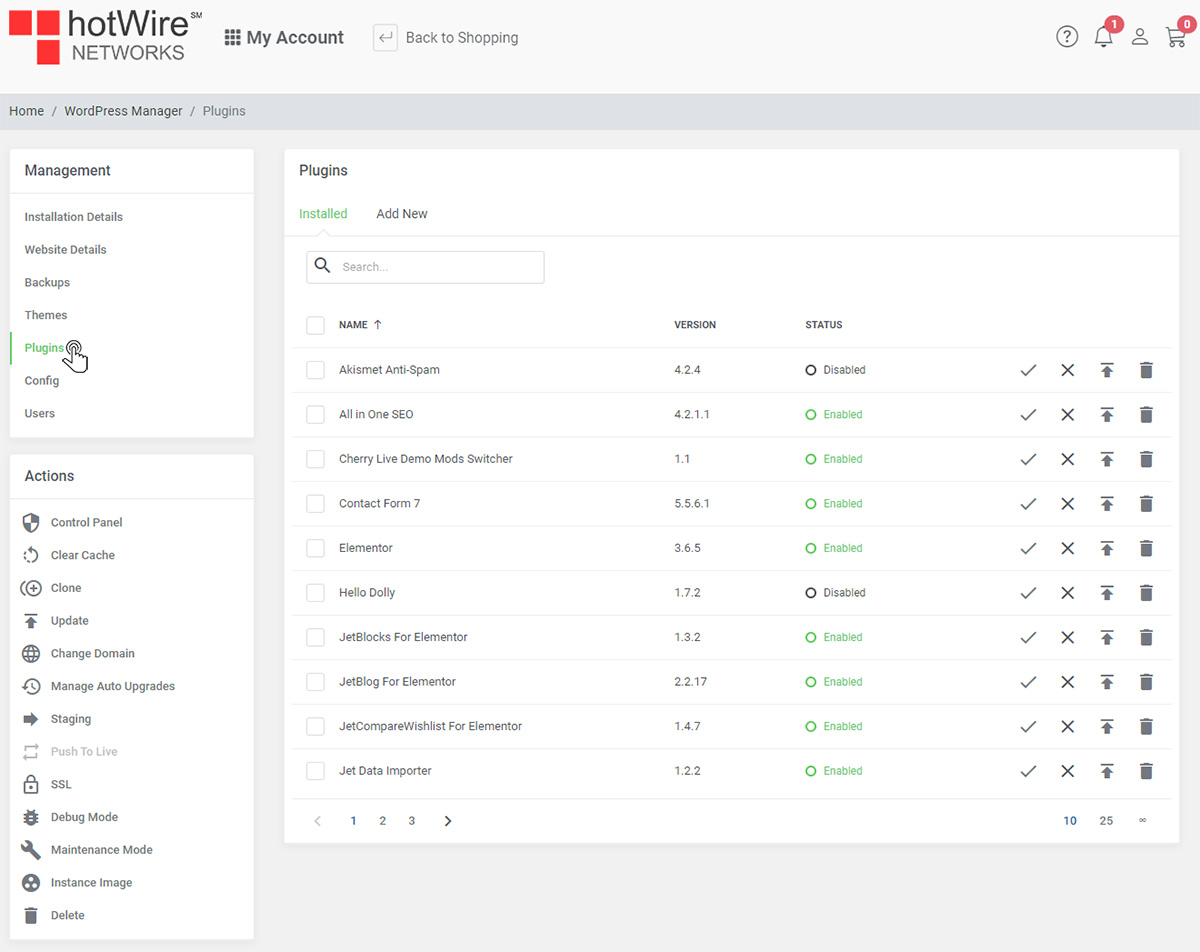
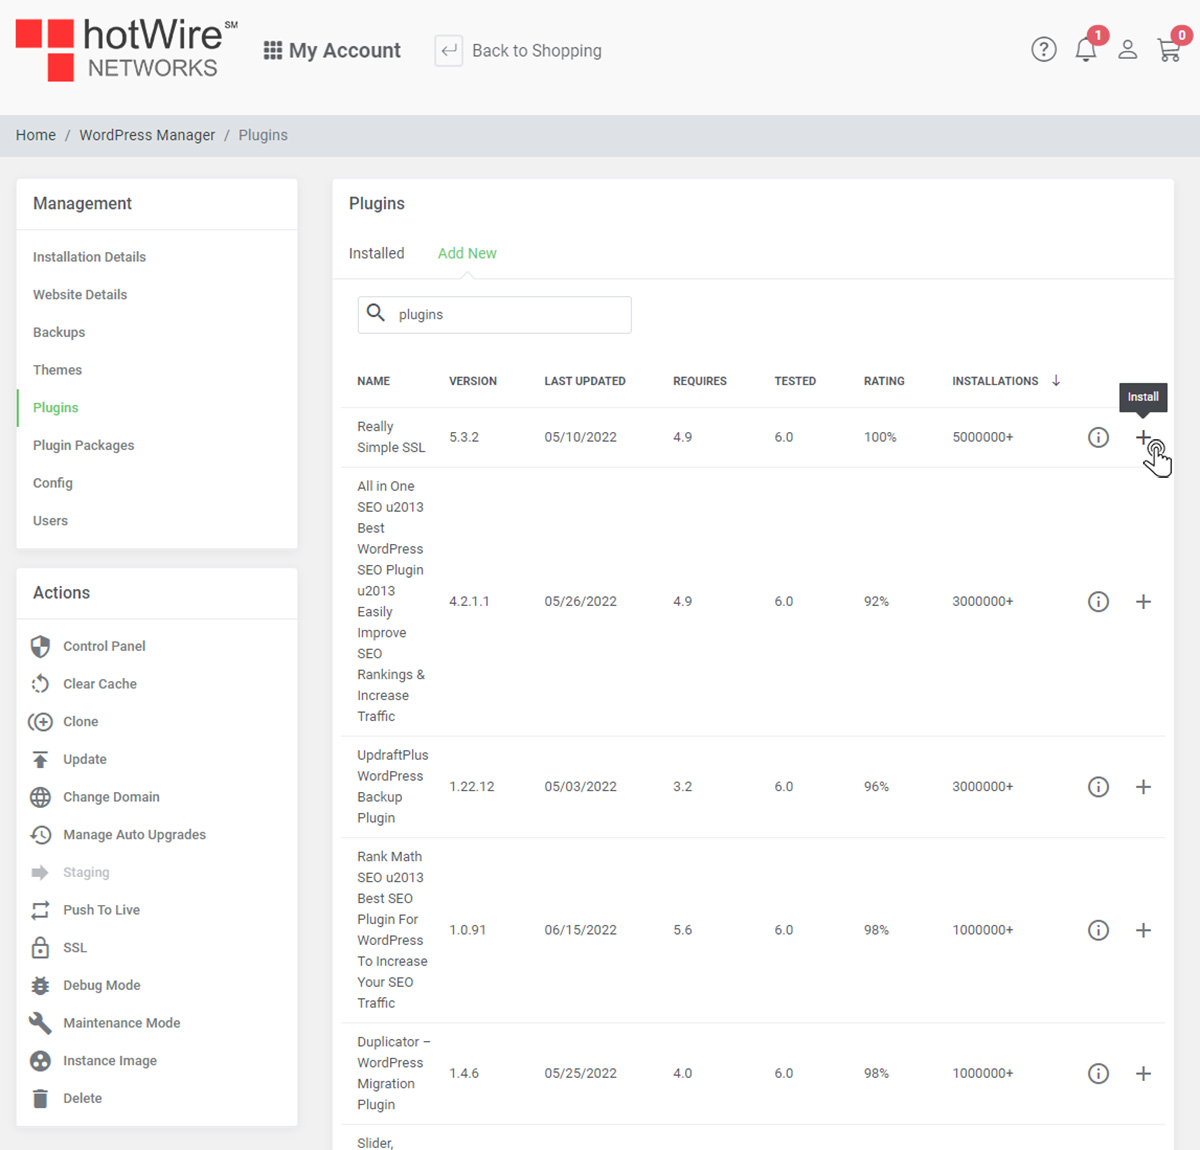
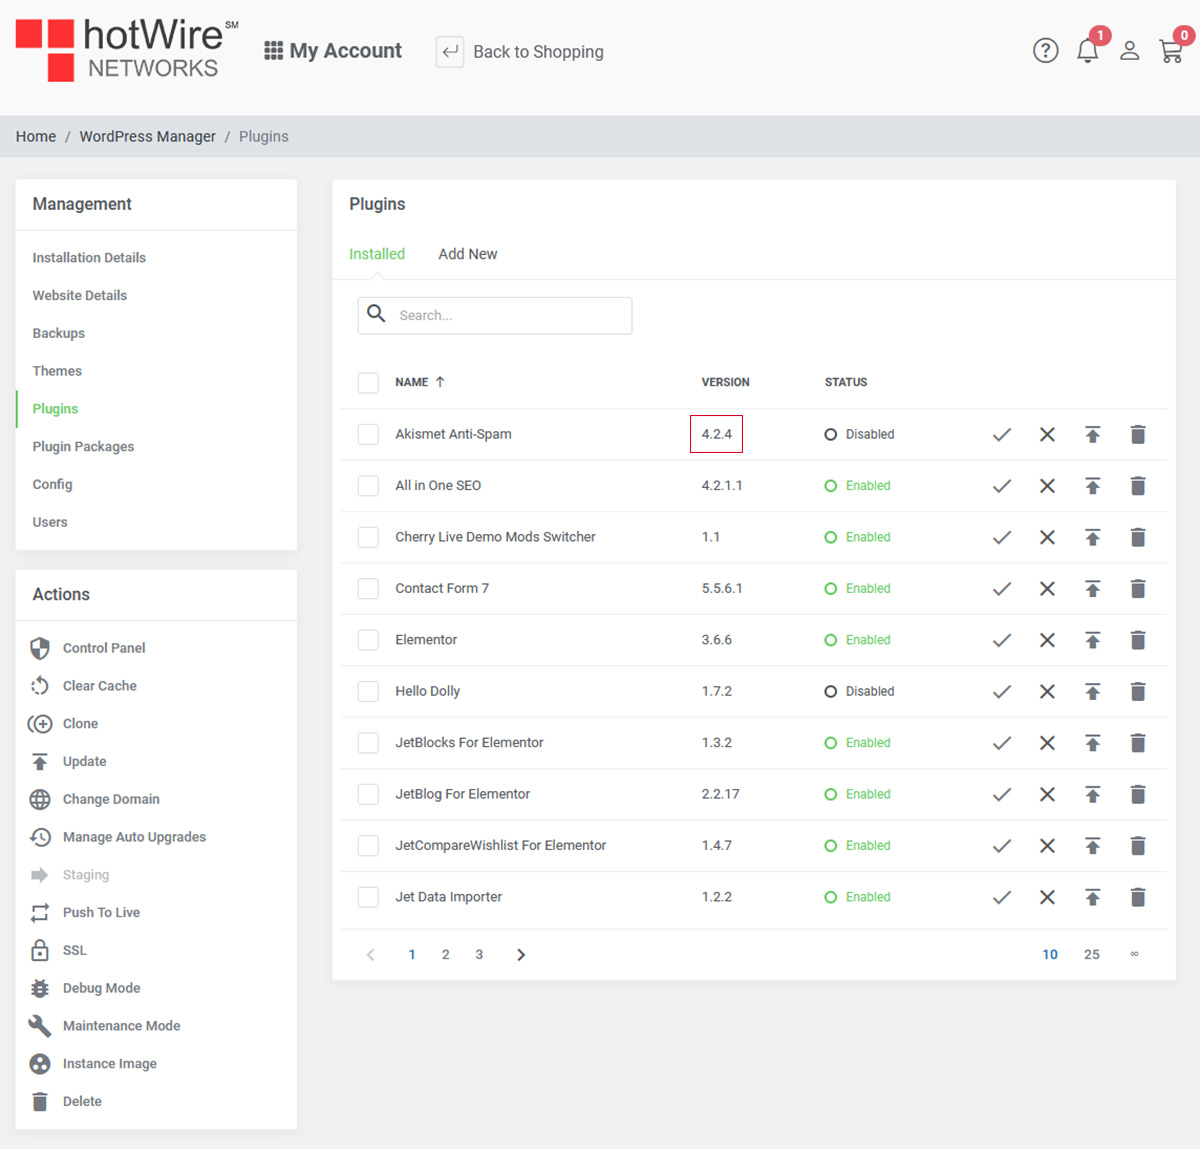
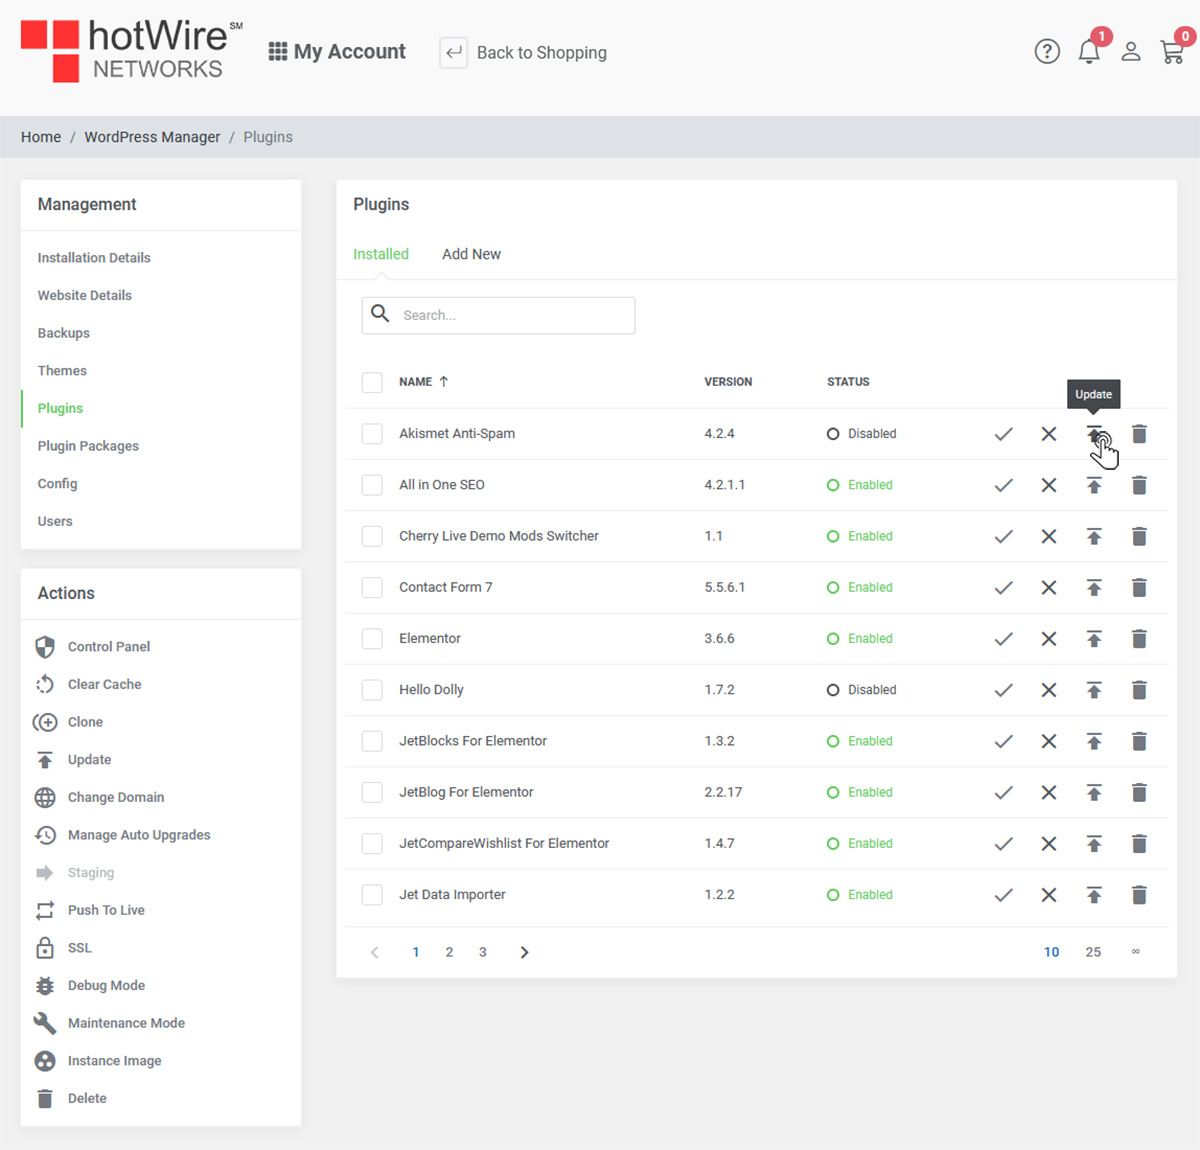
Each plugin has its version next to it
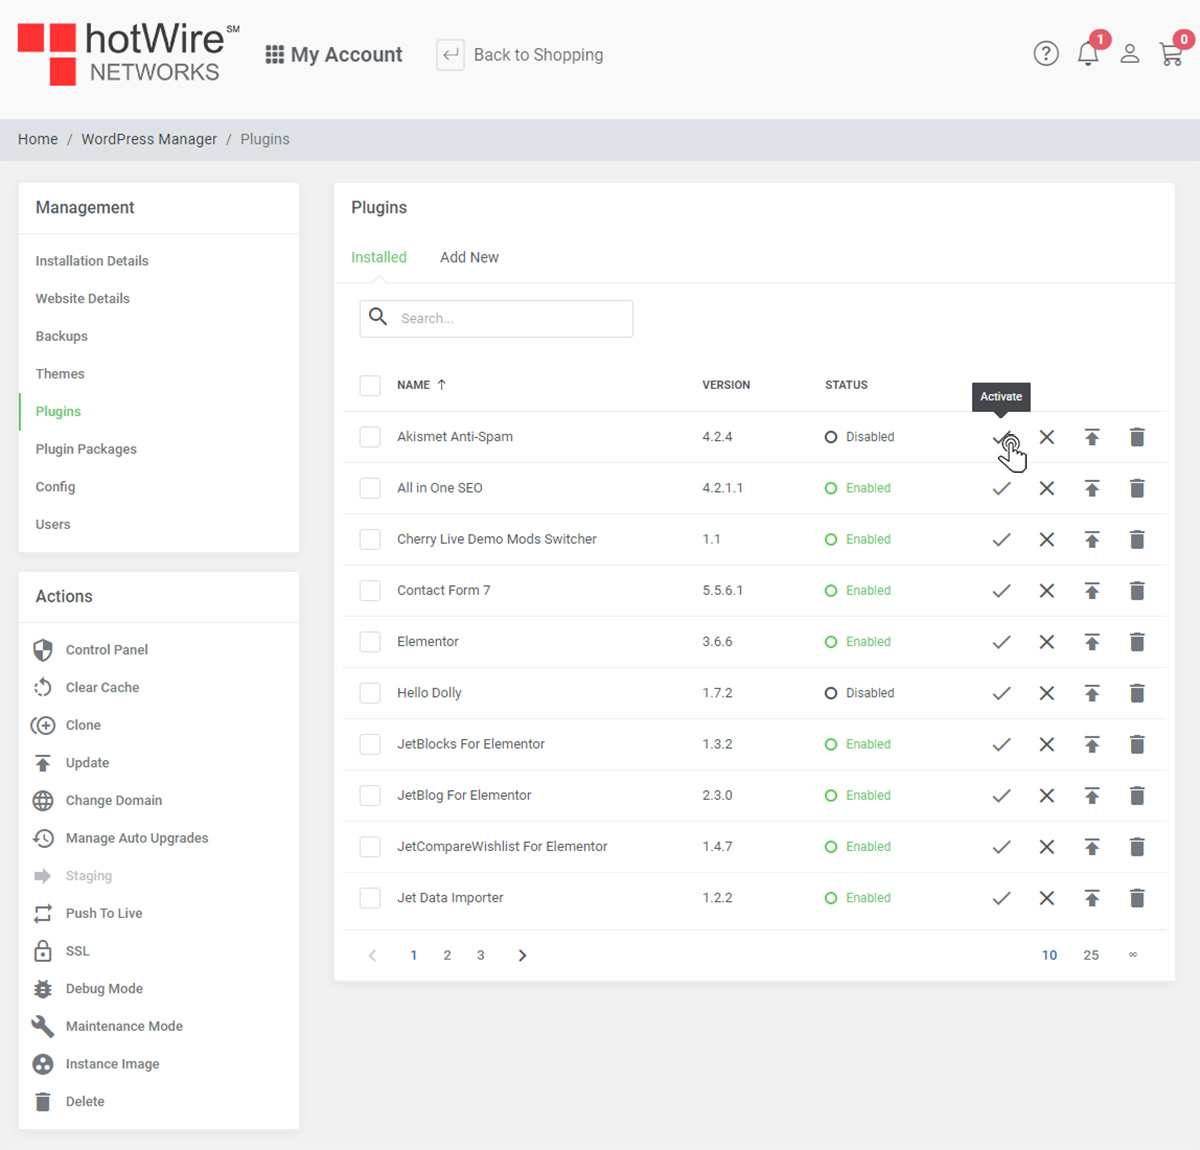
You can activate individual plugins by the options next to them. First, is the check mark, which is how you can "Activate" that plugin by clicking on it
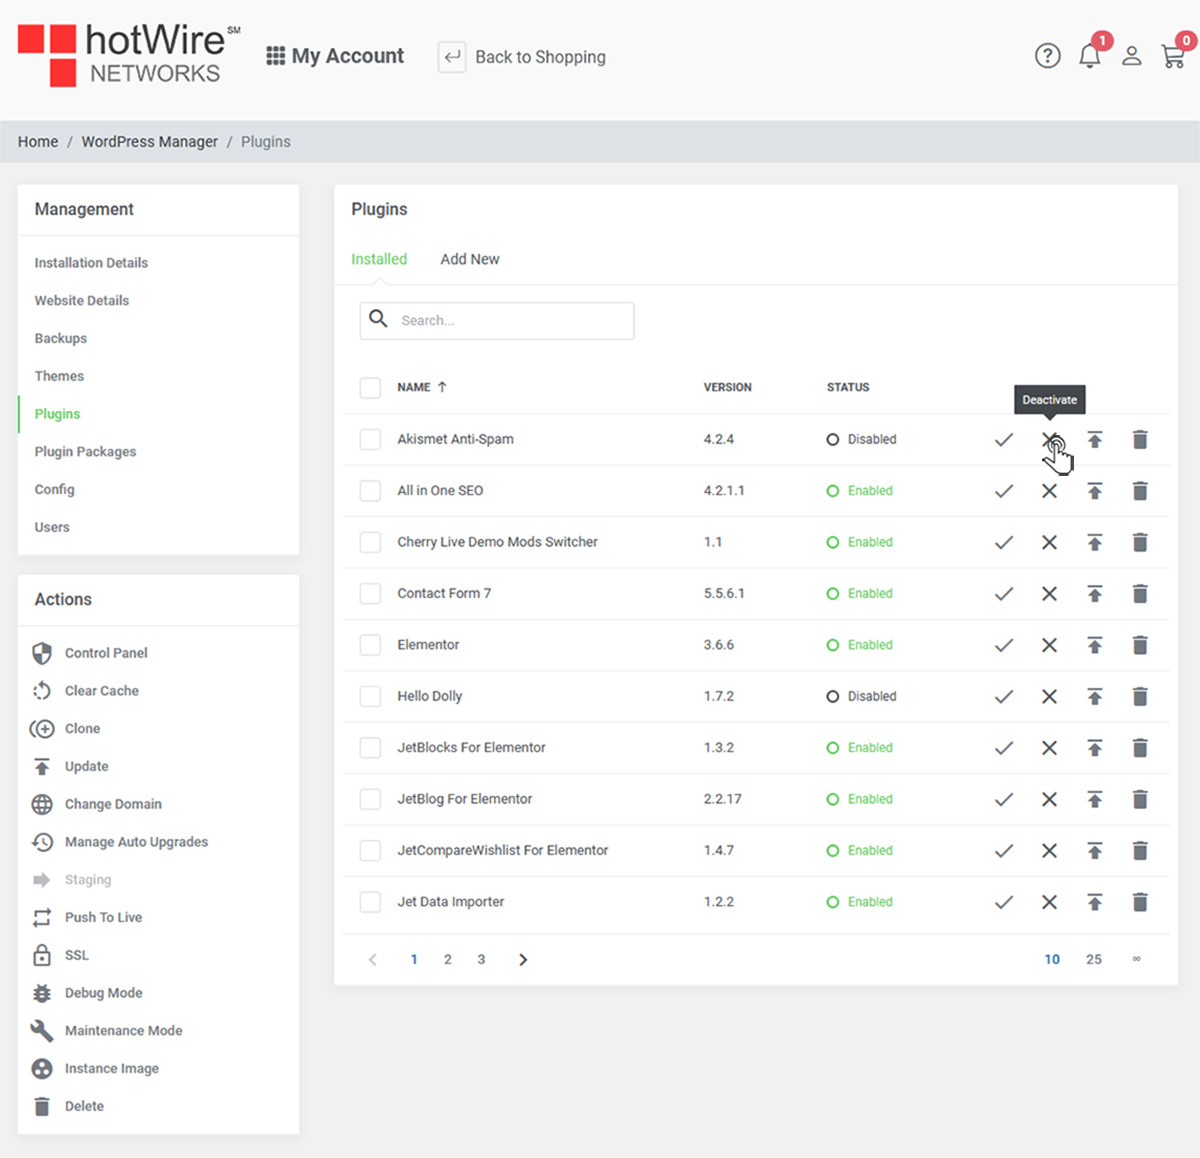
You can also deactivate by clicking the X next to the activate
Next to the X, is Update. You can update the individual plugin here
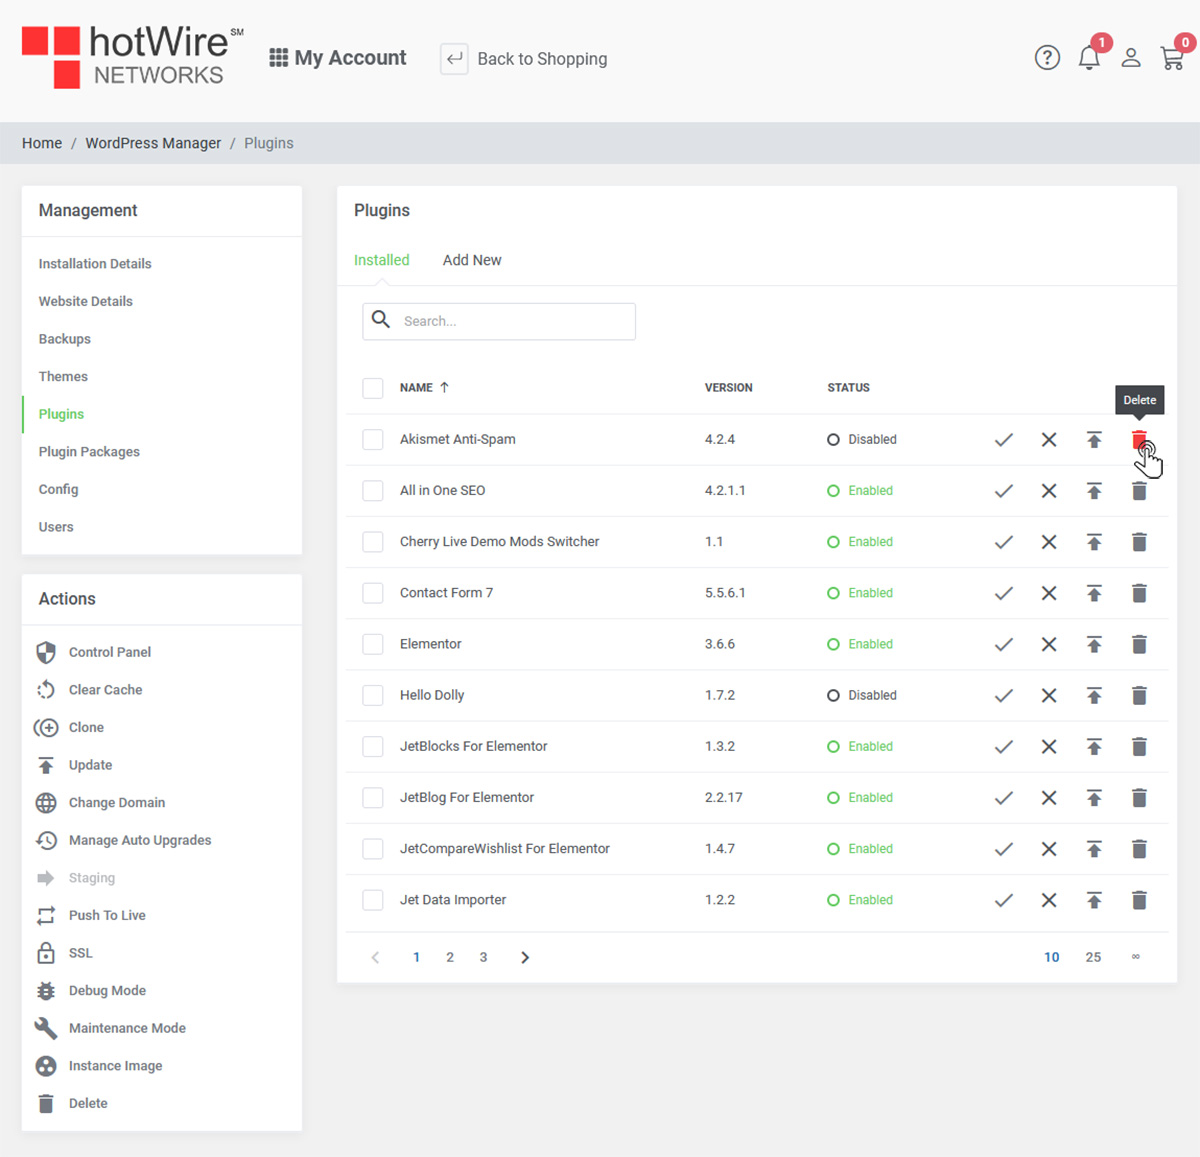
If you need to delete of this paticular plugin, click the trash icon
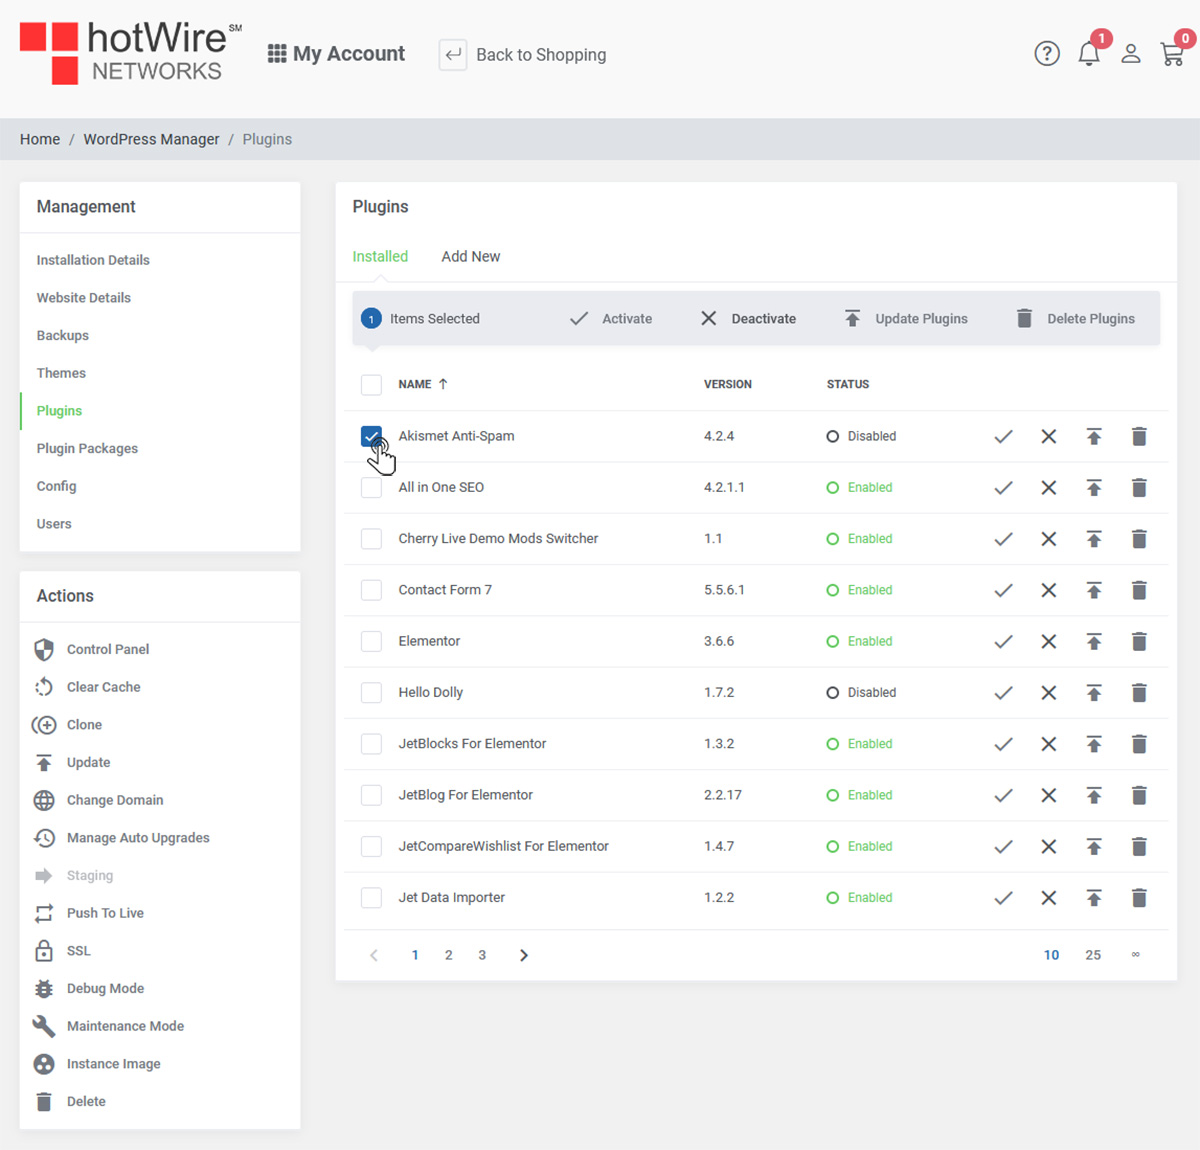
If you need to modify more than one plugins at the same time, check the boxes on the left. You will have the options above what you would like to do
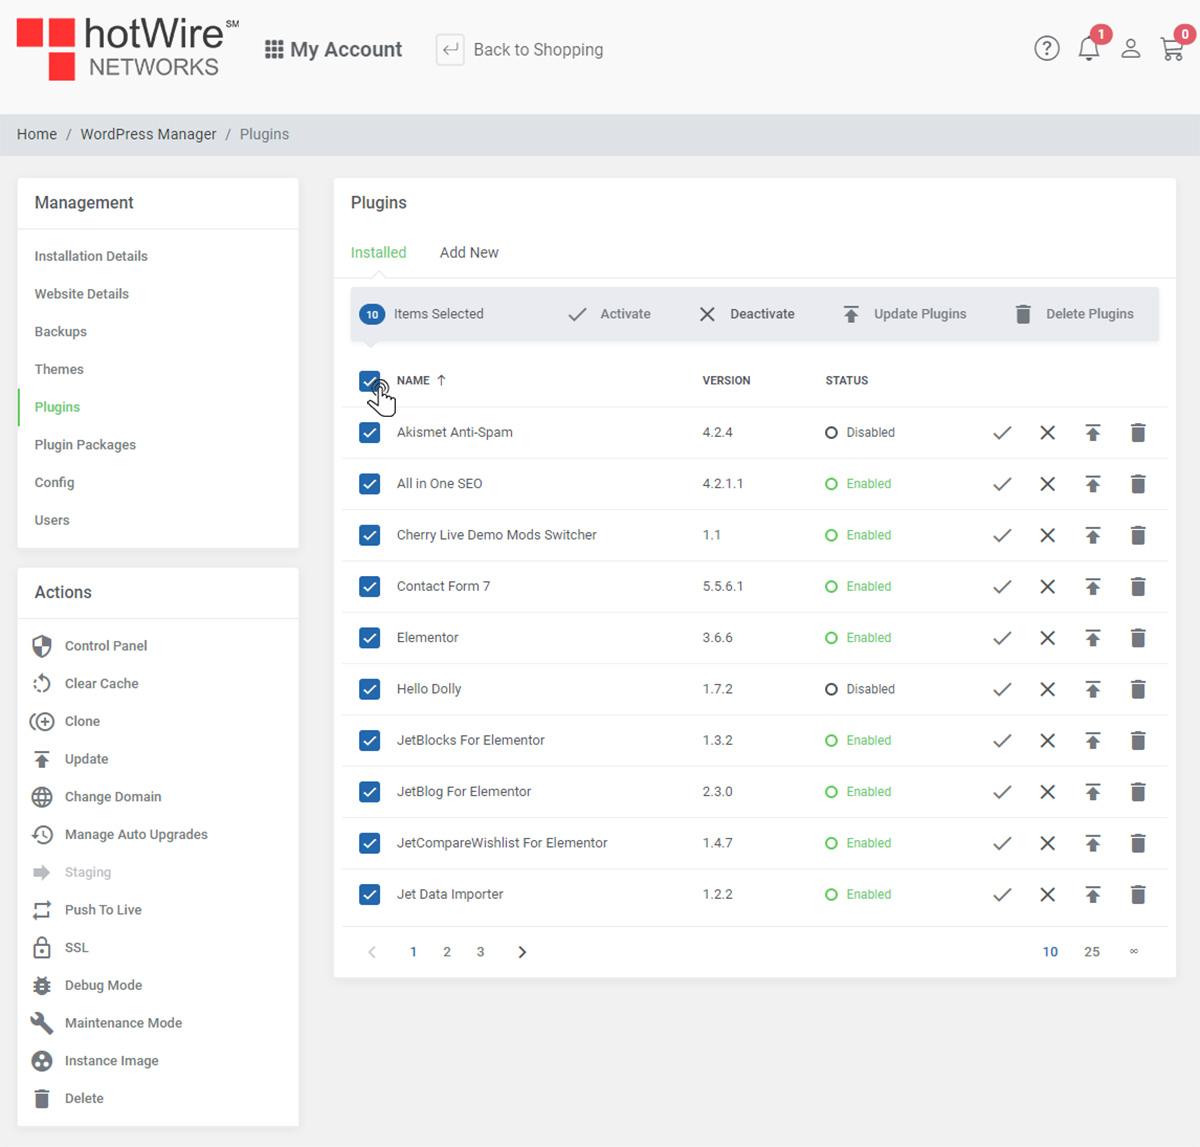
You can also check the top box to select all of your plugins at once
If you need to add new plugins, you may do so by clicking Add New
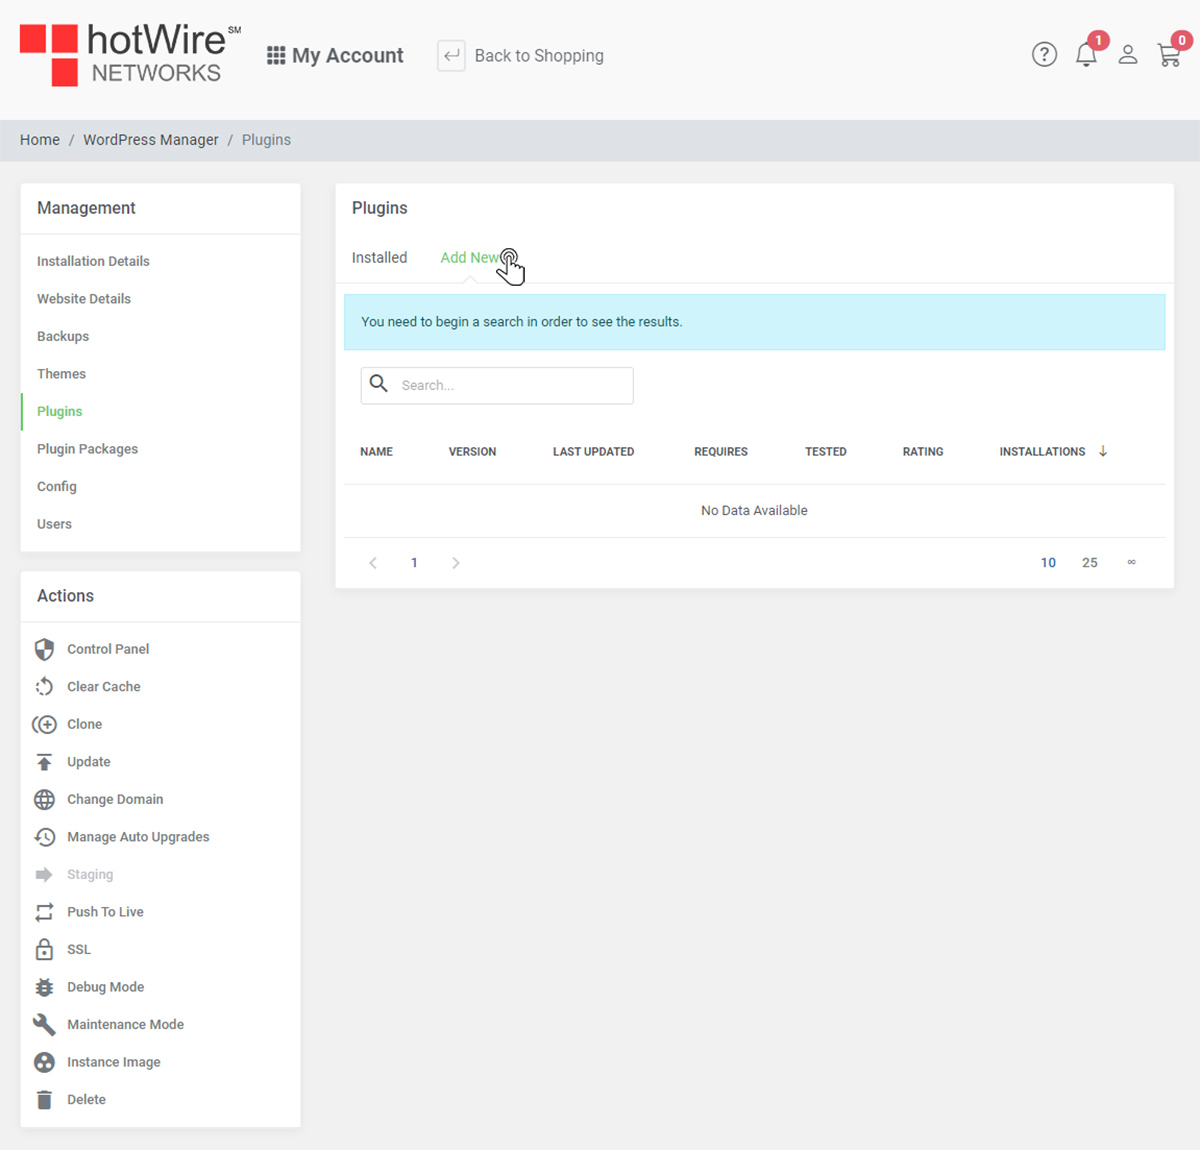
Here, you can search for all plugins available to install