Web Disk allows you to complete file management tasks that use the Web Distributed Authoring and Versioning (WebDAV) protocol, which also allows transferring files with ease. To get started, follow the steps below
If you have not yet set up cPanel, Click Here to log in
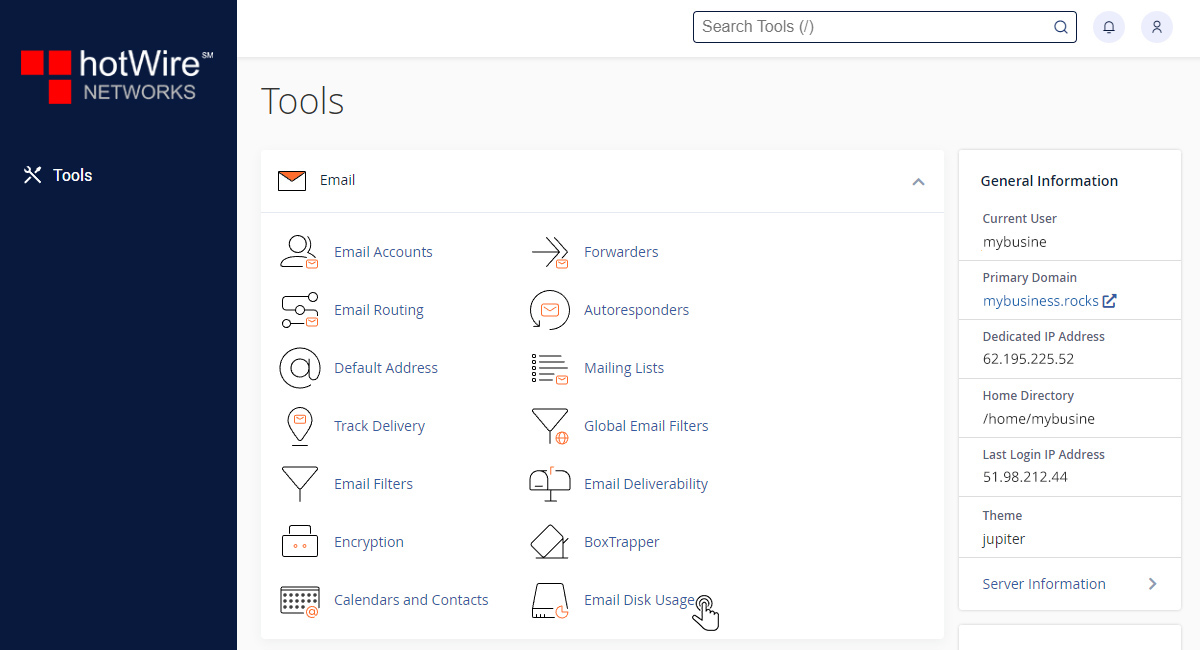
Step 1: In your Tools menu, go to the Files section, then click "Web Disk"
Step 2: Under Create an Additional Web Disk Account, fill out your username and password (store your password in a safe place) and choose what permissions you want this account to have. Click [Create] when completed

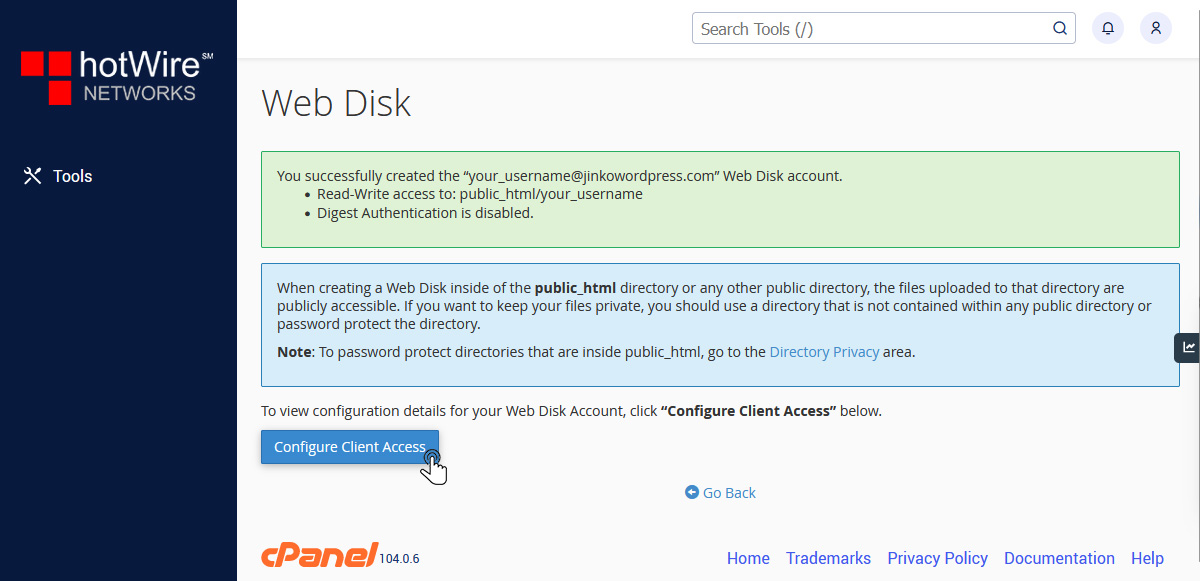
Step 3: You will be sent to a message that you have completed in creating a Web Disk account. Click [Configure Client Access] or click "Go Back"
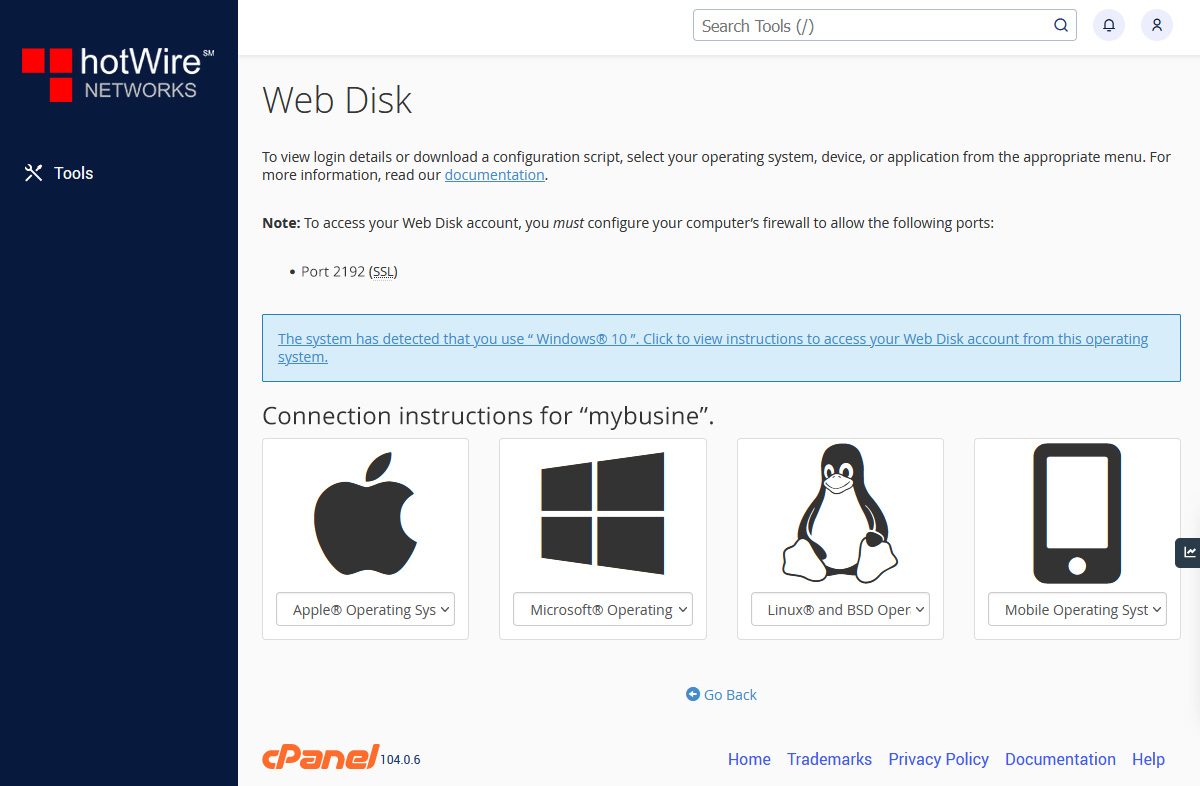
These are the Connection Instructions for the device of your choice. Make sure you select "Enable Digest Authentication" if you are using a Windows system to access your Web Disk (account password is required)